
Leaves
Where: Admin portal → Configuration → Leaves
Route: /configuration/leaves
The kinds of leave your employees can ask for, such as Casual Leave and Sick Leave. Each leave type has a yearly allowance and says whether it is paid. Employees choose from these types when they request leave, and you decide on the requests under Leave Requests.
1. The Leaves list
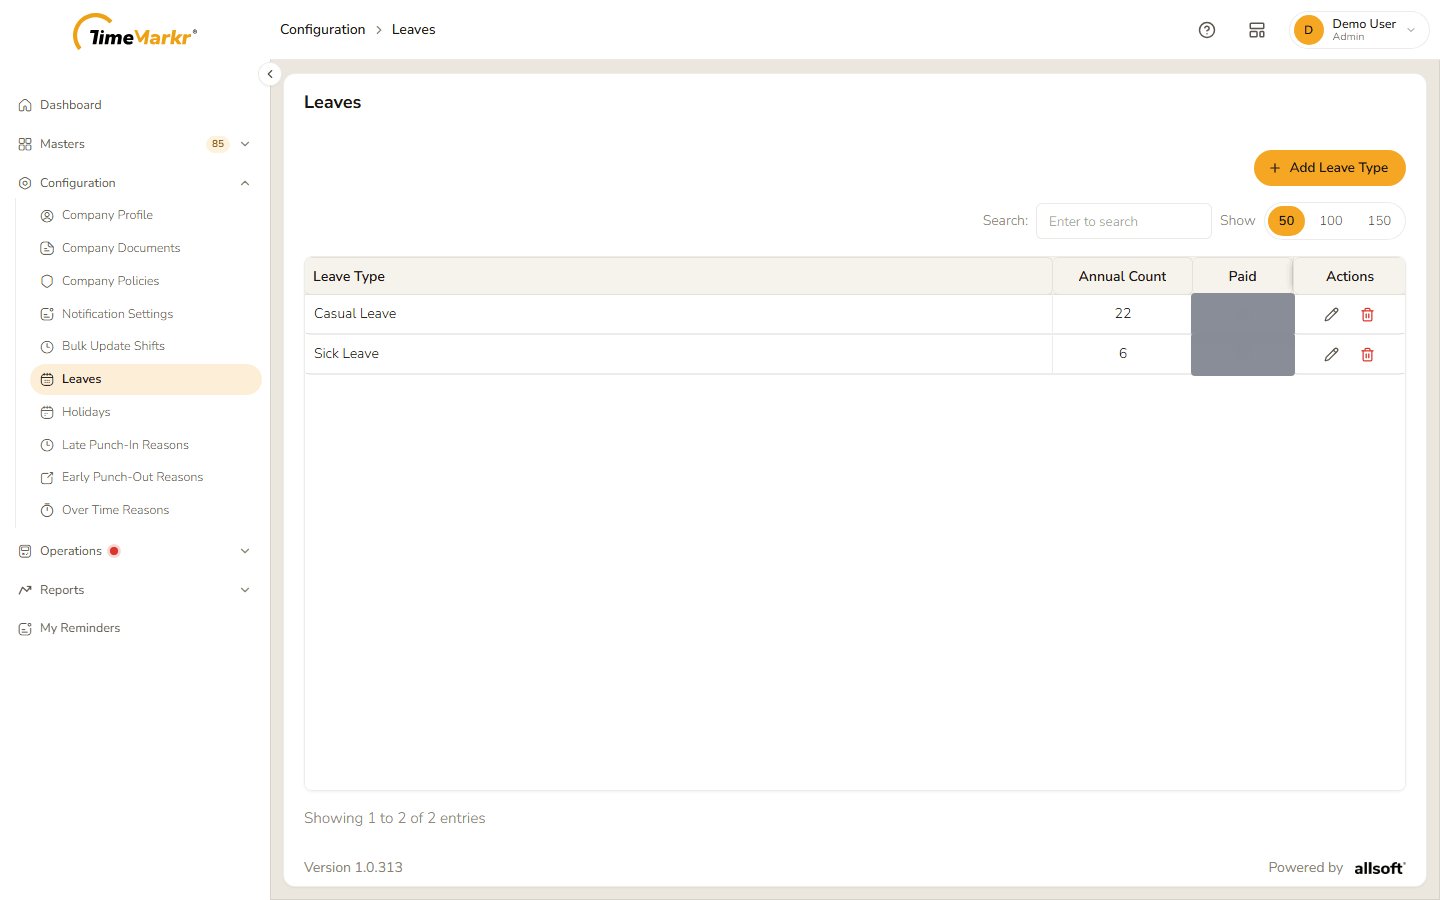
| Column | What it shows |
|---|---|
| Leave Type | The name of the leave type. |
| Annual Count | The number of days a year. |
| Paid | Yes or No. |
| Actions | Update and Delete. |
Use Search to narrow the list and Show 50 / 100 / 150 to choose how many rows to see.
2. Add a leave type
Click Add Leave Type.
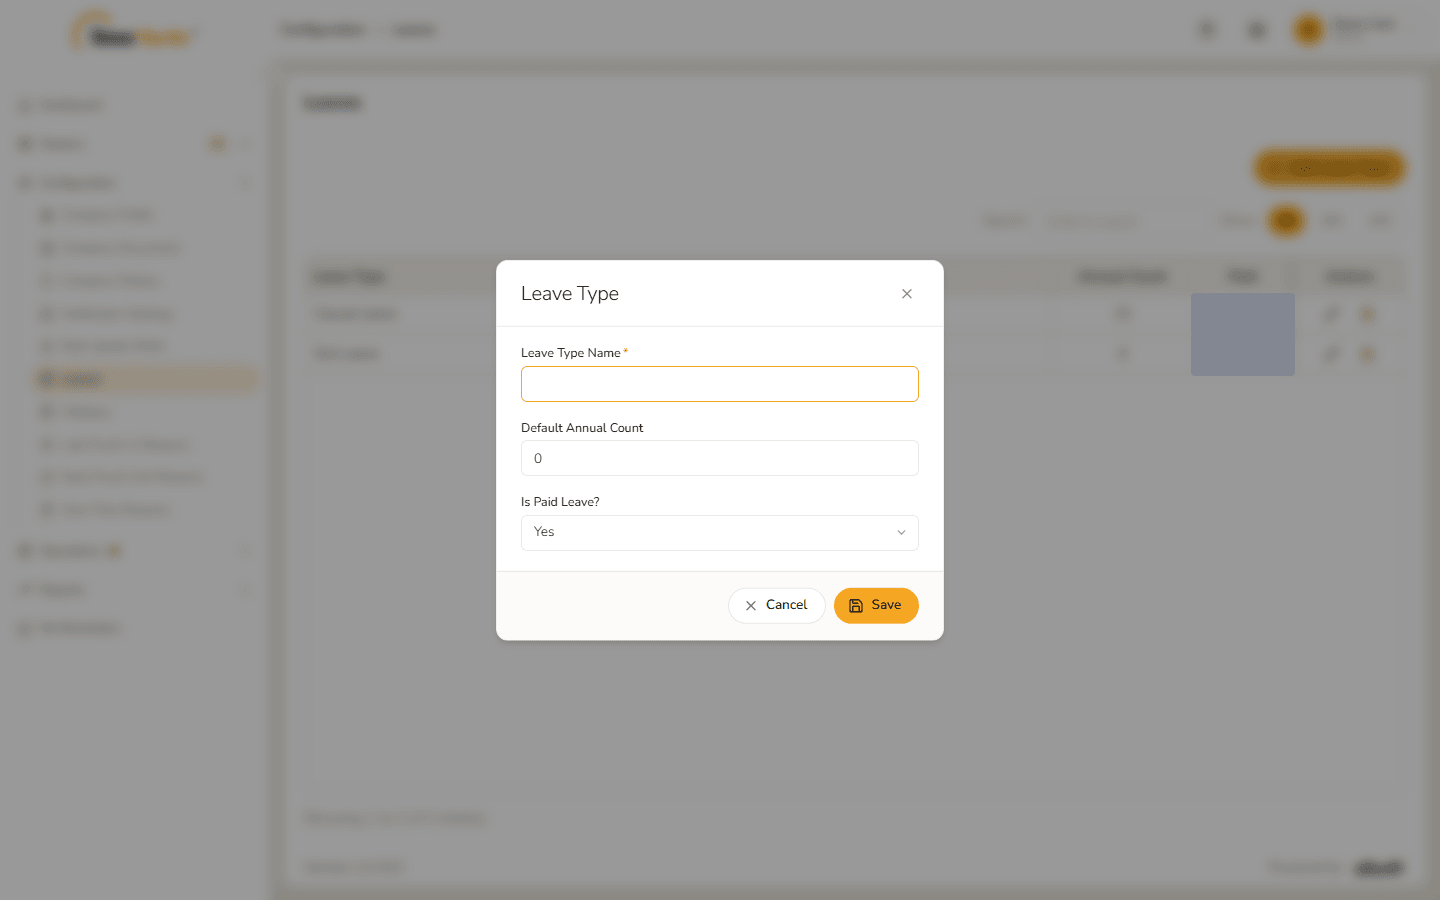
Leave Type form Fill it in.
Field Notes Leave Type Name* Required. Clicking Save with it empty shows "Leave type name is required." Default Annual Count The number of days per year. It must be greater than zero – with 0the server refuses it, see below.Is Paid Leave? Yes (the default) or No. 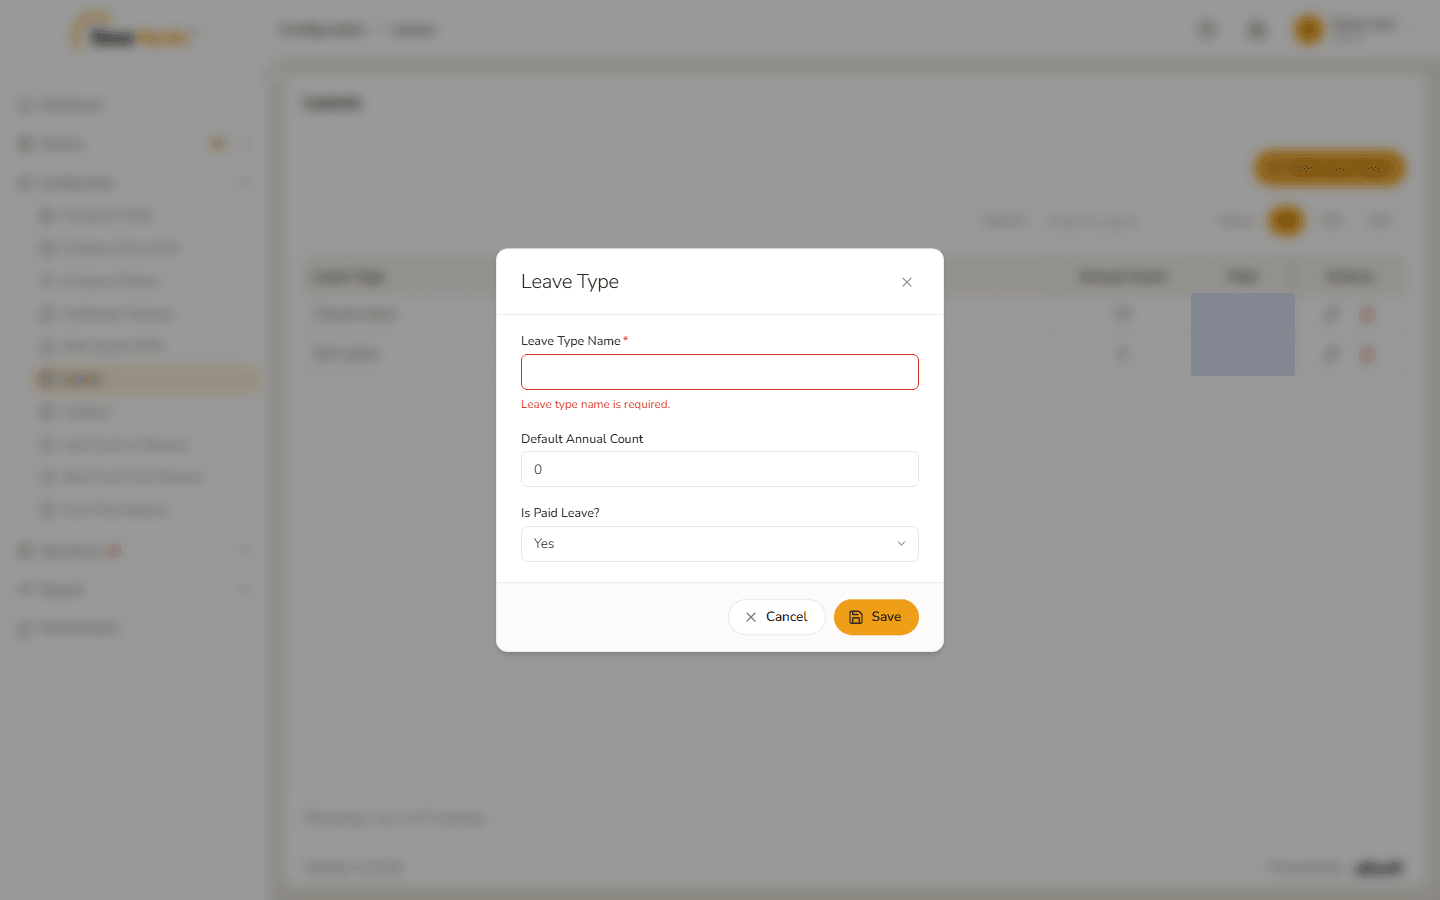
Leave type name is required 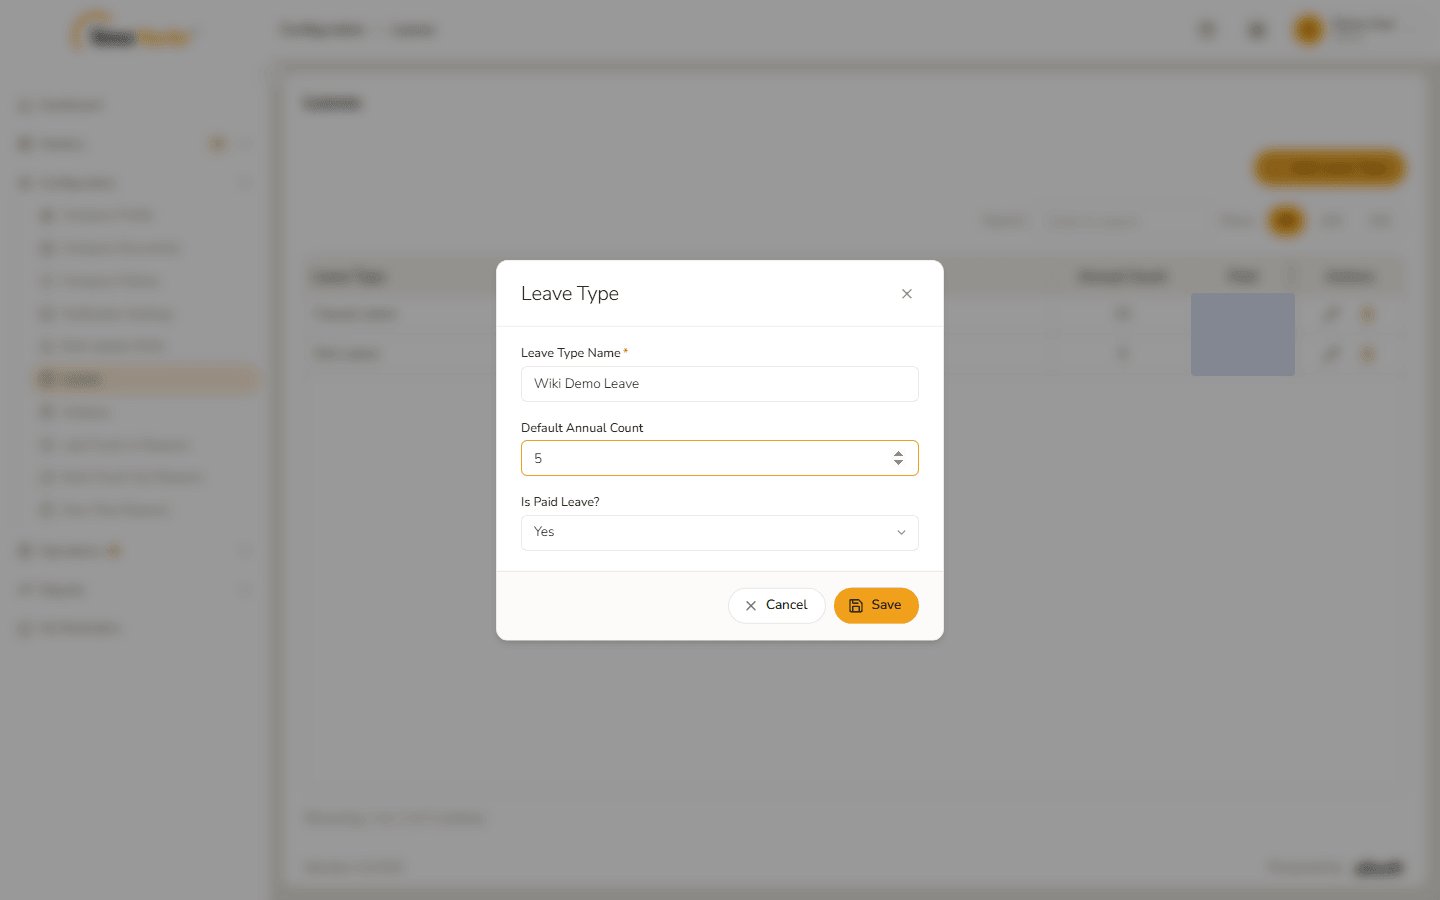
Form filled in If Default Annual Count is left at zero, Save is refused with Save Leave Type failed – "Error : Default Annual Count must be greater than zero." Click Dismiss, enter a count above zero and save again.
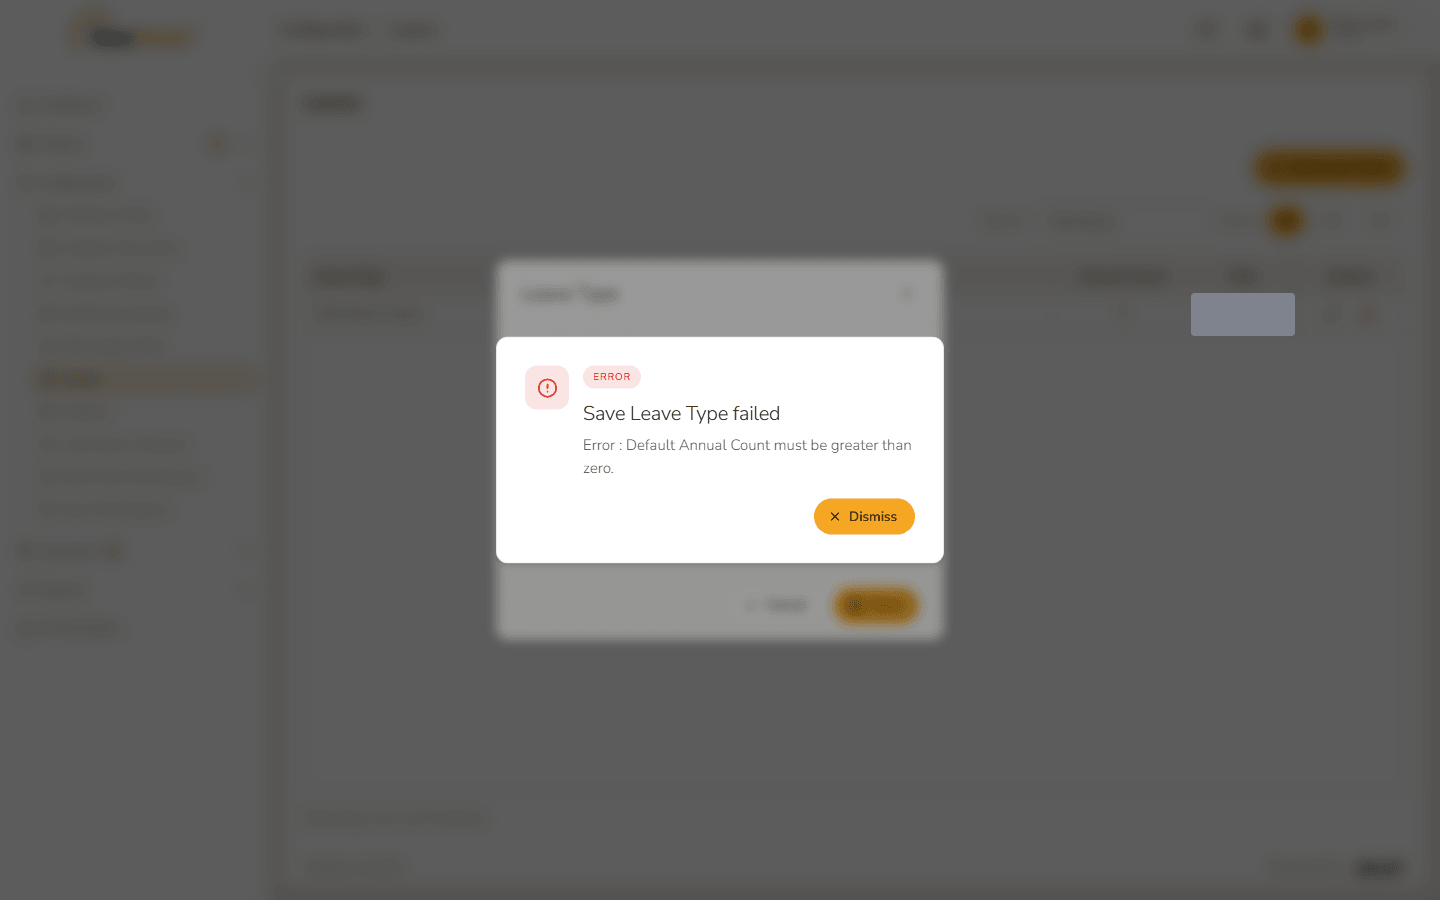
Default Annual Count must be greater than zero Click Save. Leave type saved – Success. Created. confirms it. Click Got it.
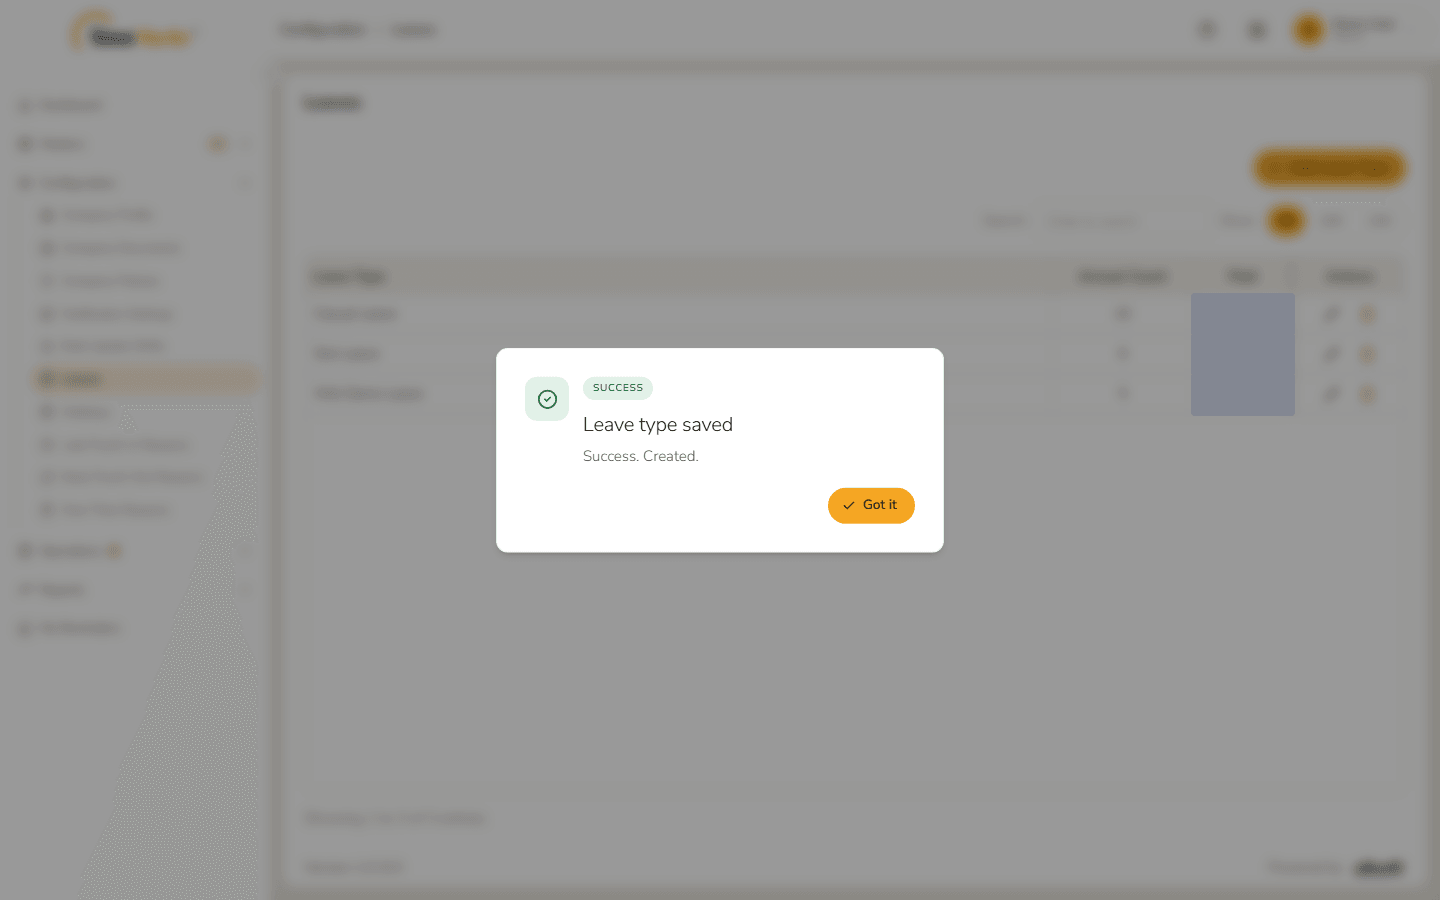
Leave type saved The leave type is in the list.
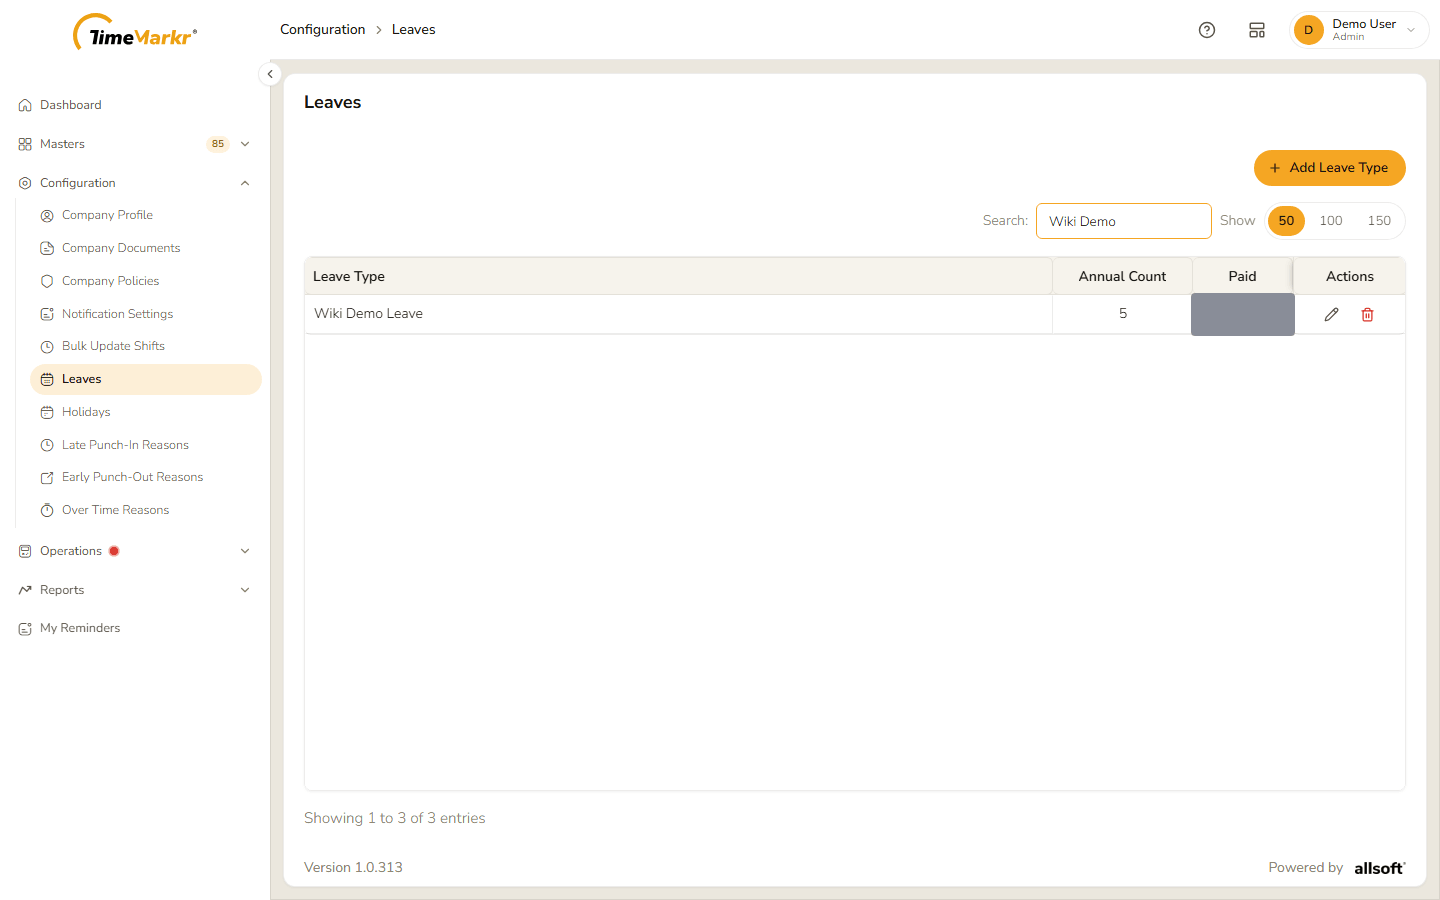
New leave type in the list
3. Update a leave type
Click Update on the row.
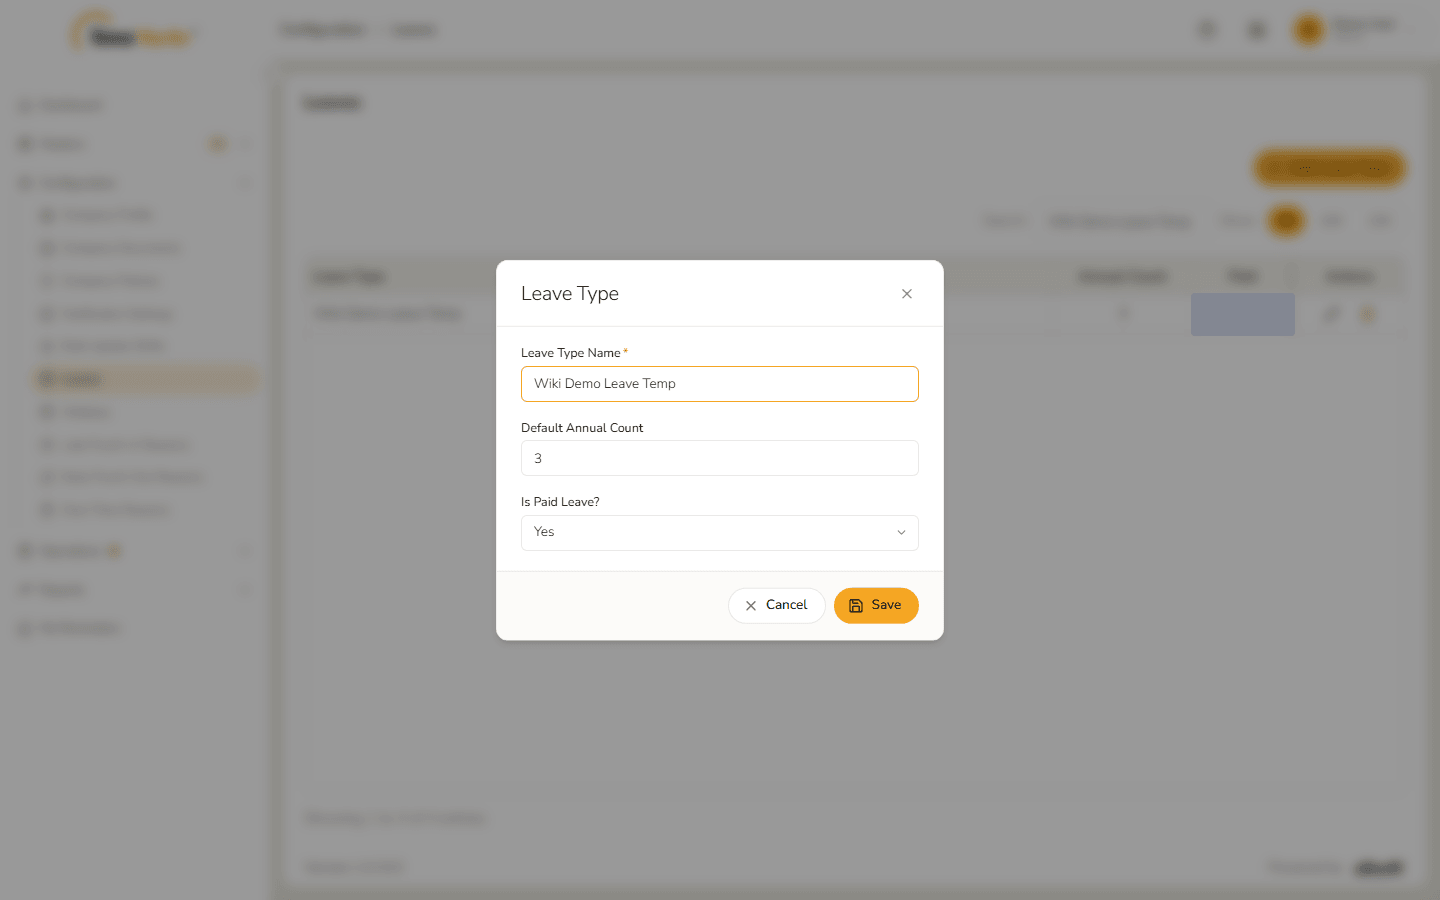
Edit form Change the fields – here the annual count becomes 7.
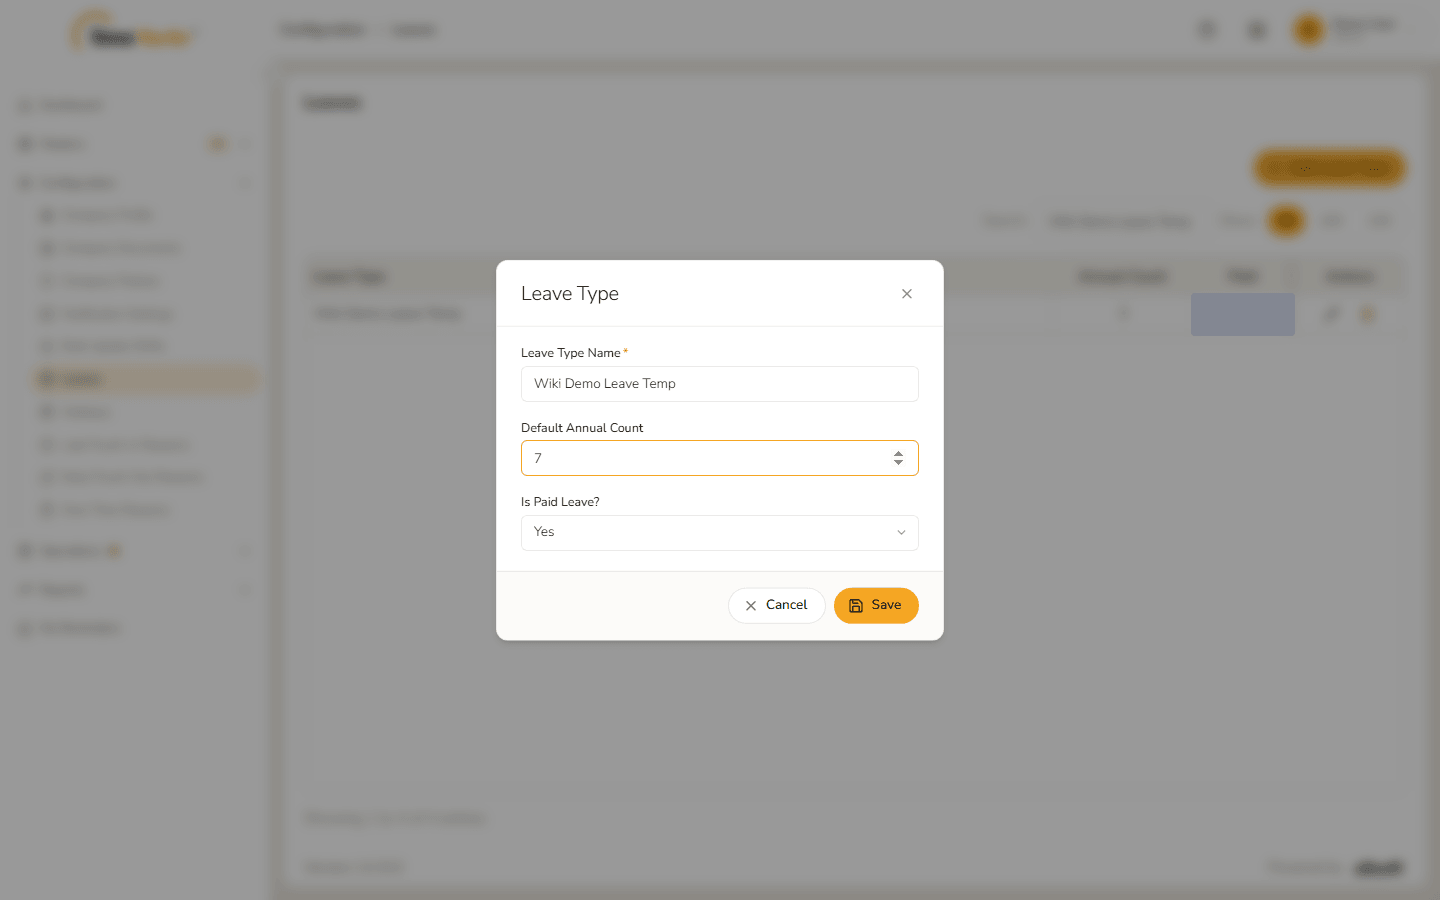
Count changed Click Save. Leave type saved – Success. Modified. confirms it.
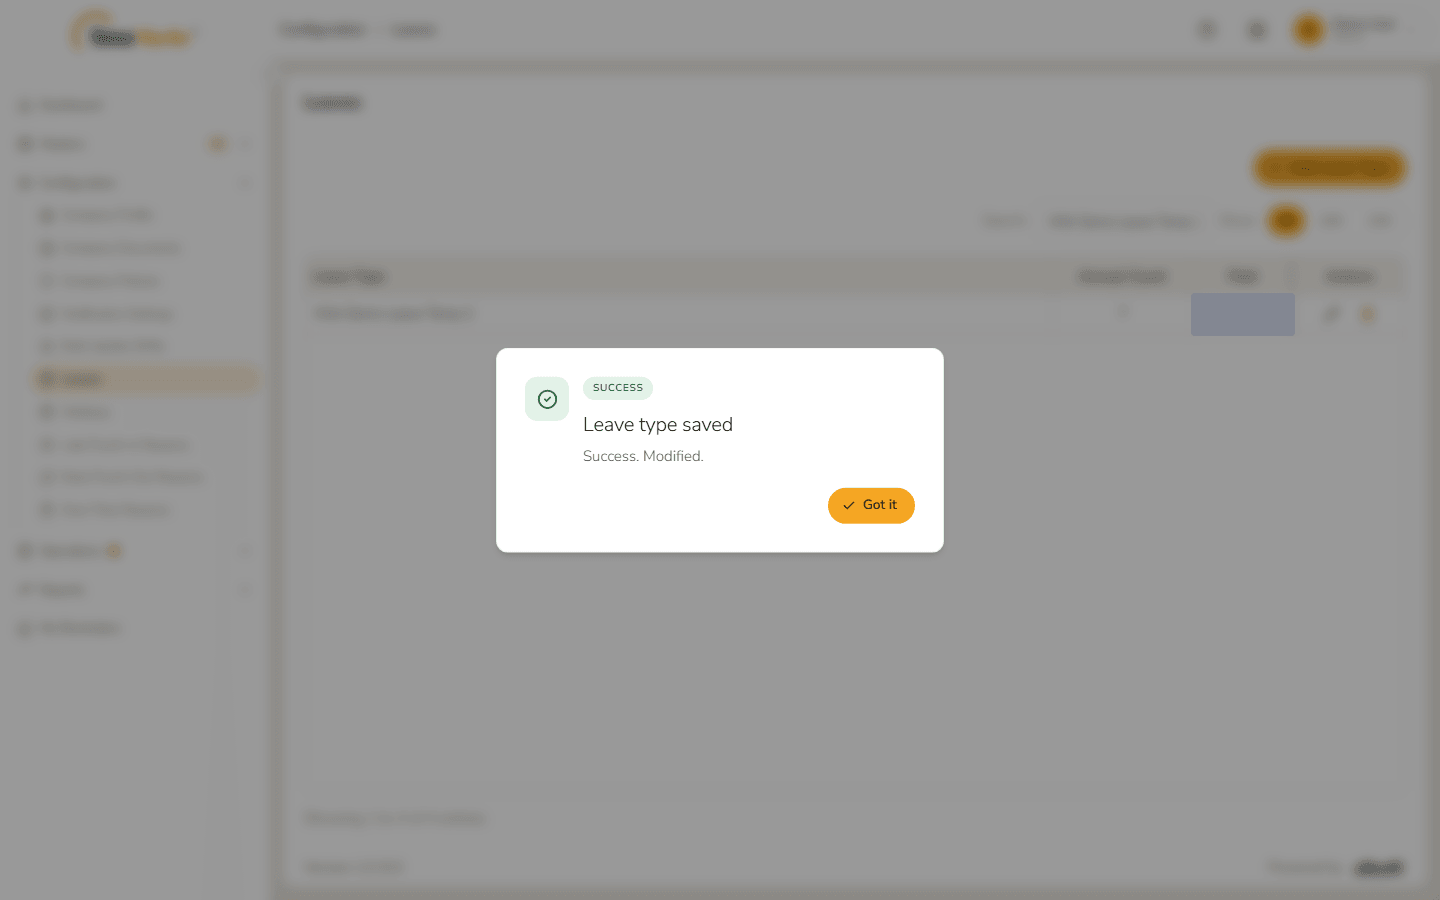
Leave type modified
4. Delete a leave type
Click Delete on the row. The confirmation names the leave type and warns "This cannot be undone."
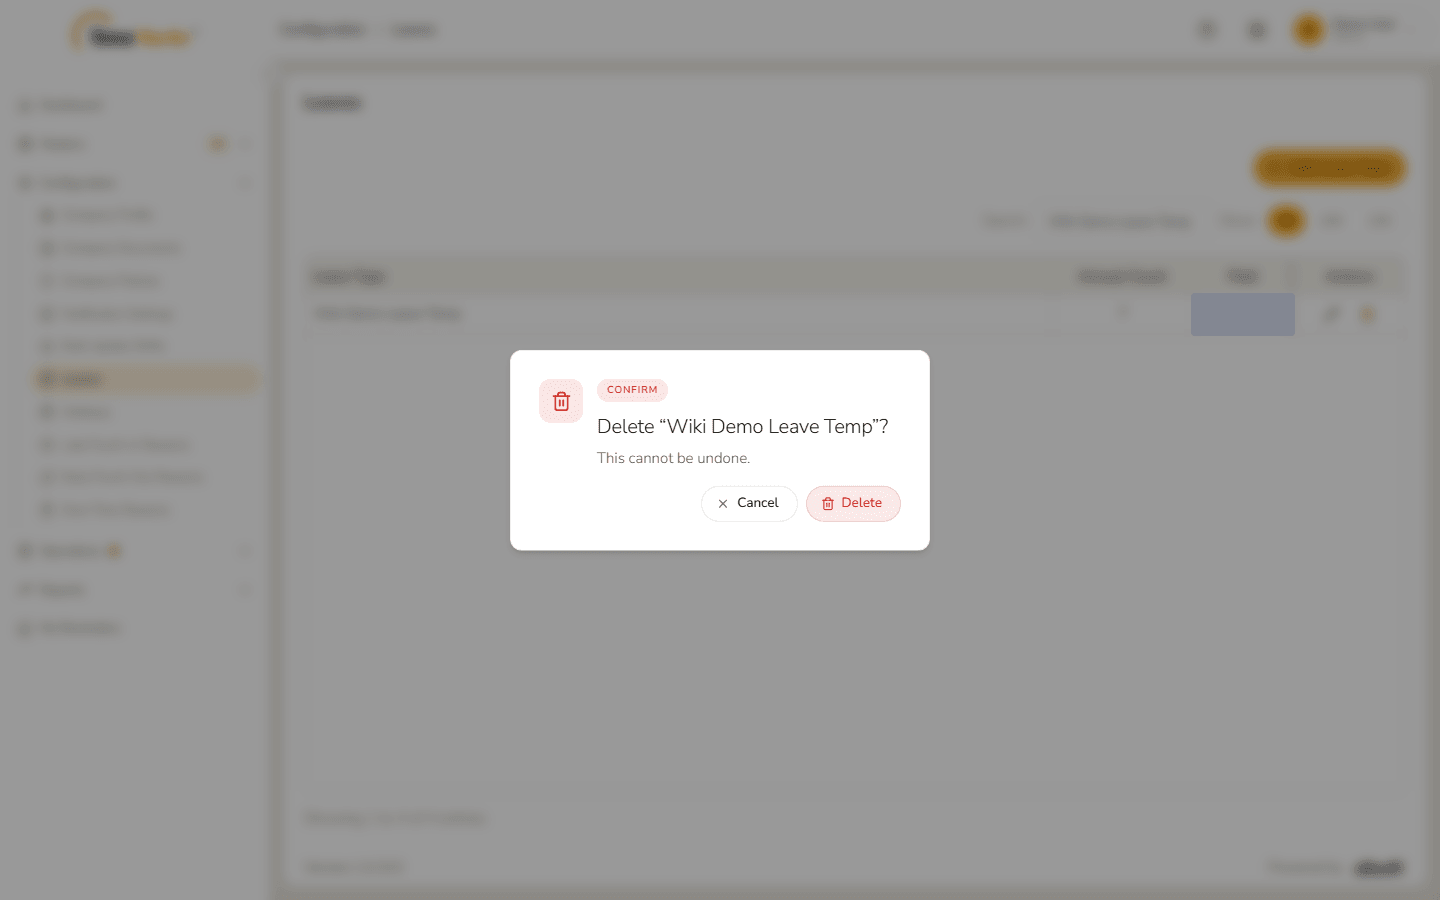
Delete confirmation Click Delete. Leave type deleted – Success. Deleted. confirms it. Click Got it.
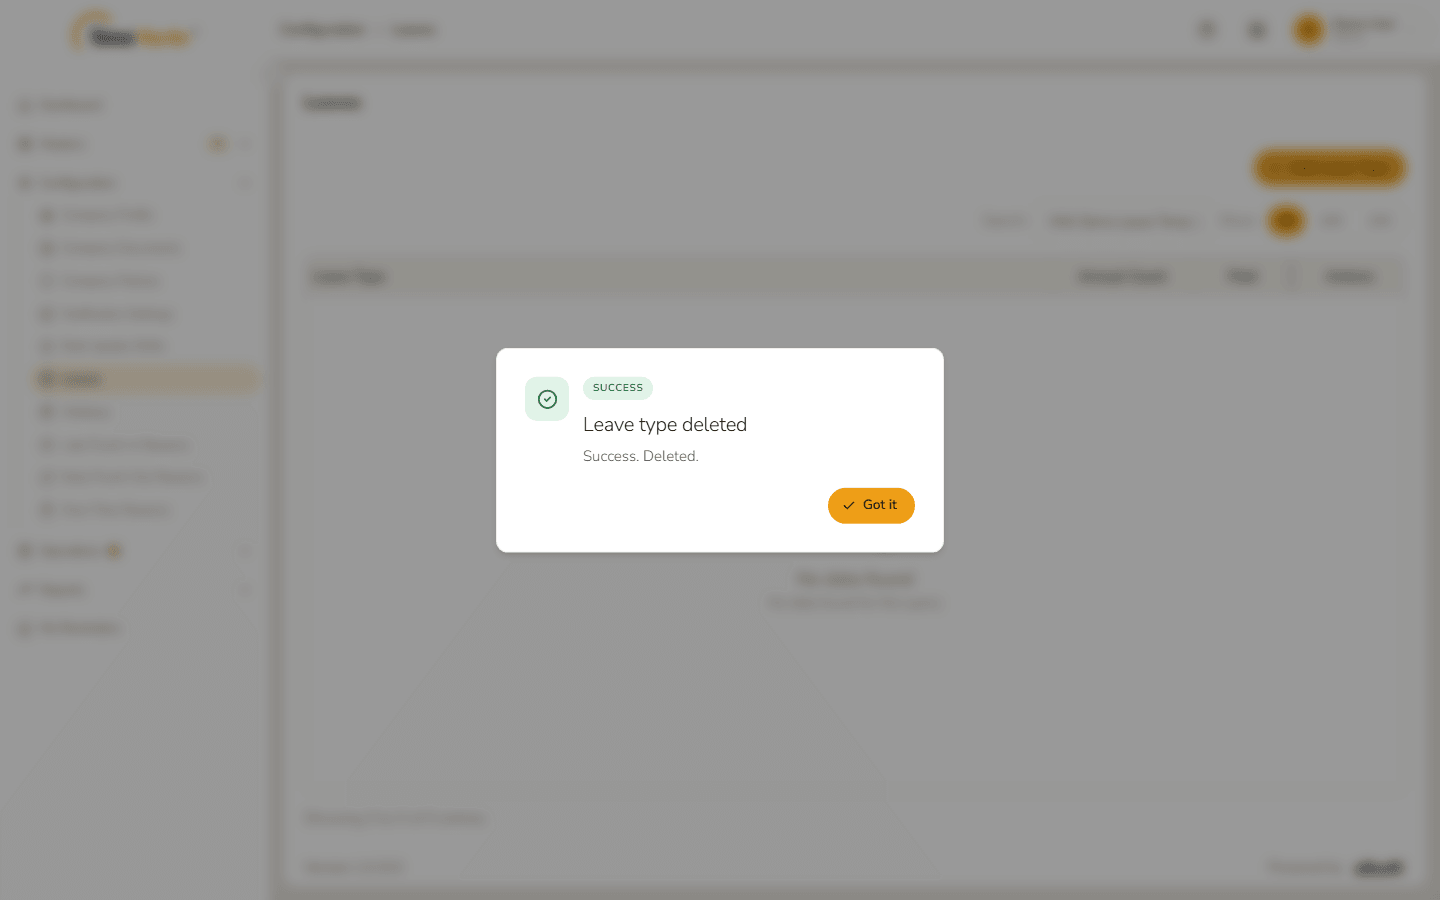
Leave type deleted 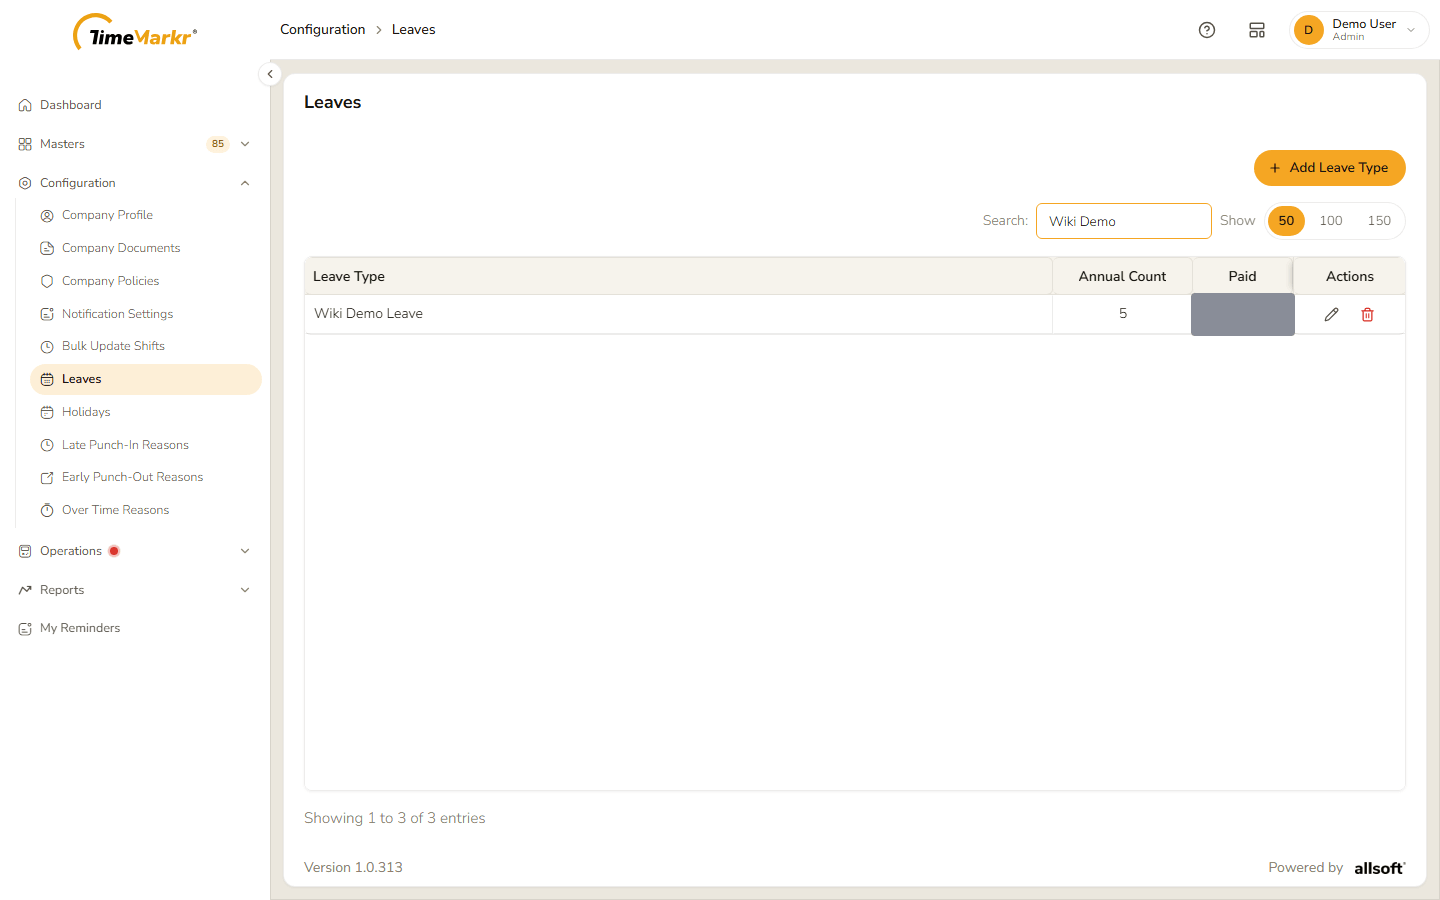
List after the delete
Related: Leave Requests · Holidays · Request Leave (employee portal)