
Expense Categories
Where: Admin portal → Masters → Expense Categories
Route: /operations/expense-categories (the page sits under Masters in the menu, but its address starts with /operations)
The list of categories employees can file a reimbursement claim under – for example Travel Expense or Food expense. Employees choose one of the active categories when they add an item to a claim in the employee portal; you review the claims under Reimbursement Claims.
1. The Expense Categories list
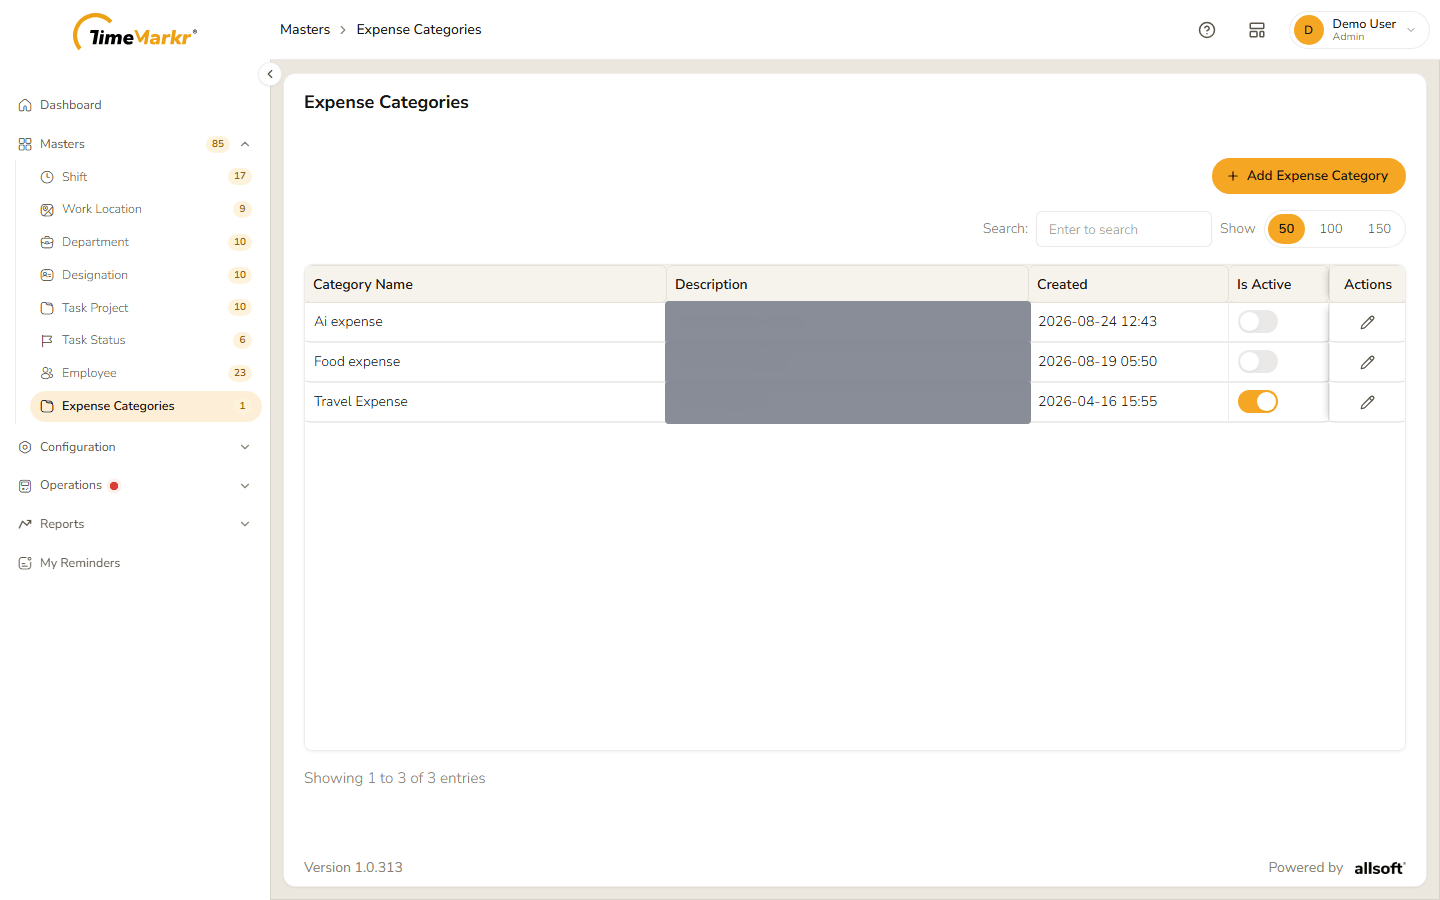
| Column | What it shows |
|---|---|
| Category Name | The name of the category. |
| Description | A short note about it (hidden in the screenshot). |
| Created | The date and time it was created. |
| Is Active | A switch: on means employees can pick the category. |
| Actions | A pencil to edit the category. |
There is no delete: a category is only switched on or off.
2. Add a category
Click Add Expense Category.
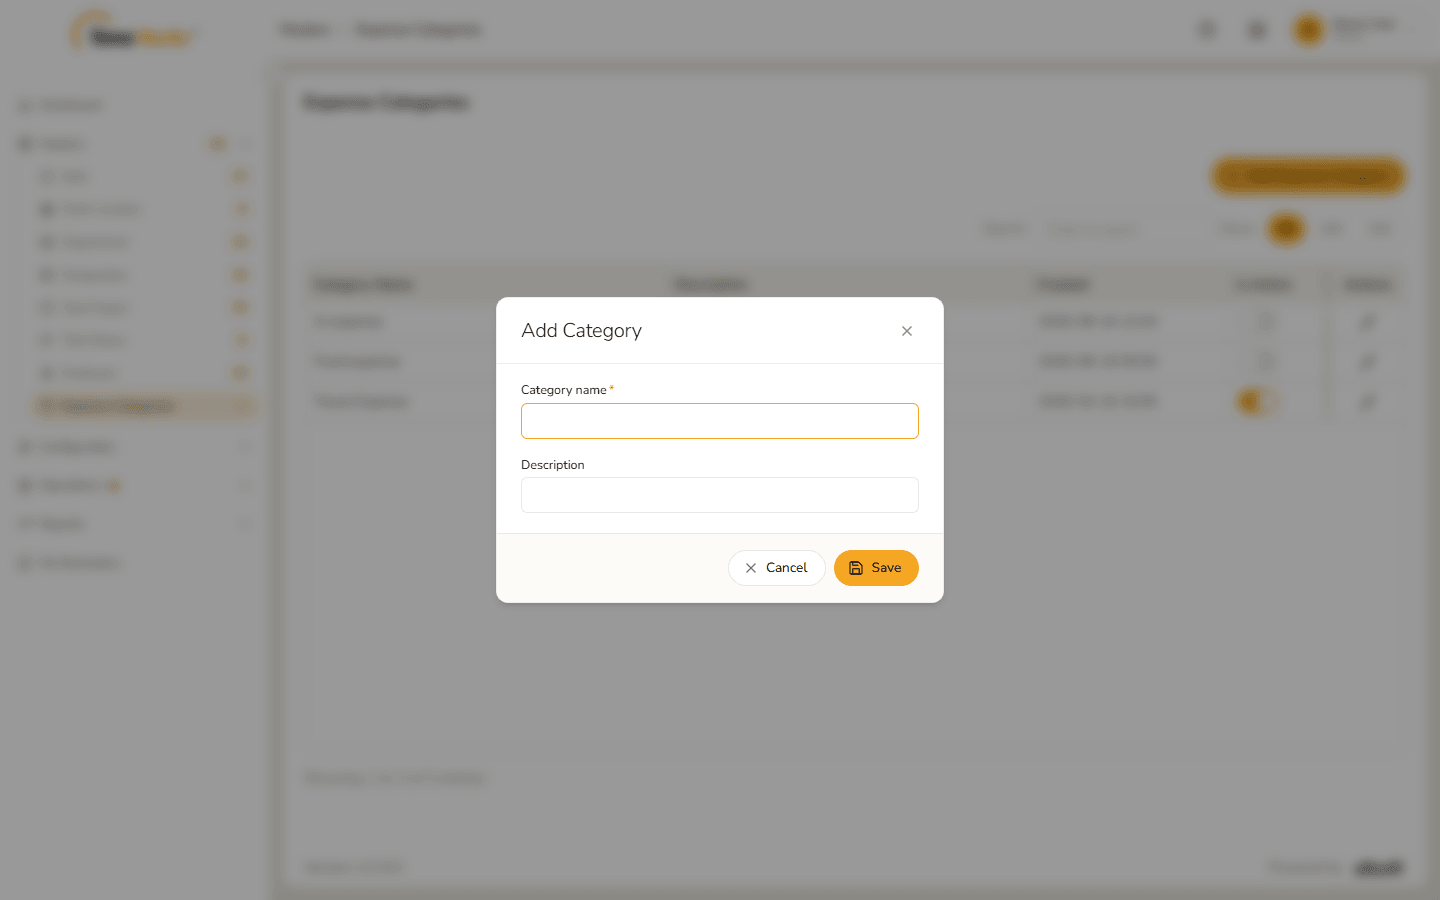
Add Category form Enter the Category name (required) and, if you like, a Description. Save with the name empty shows "Category name is required."
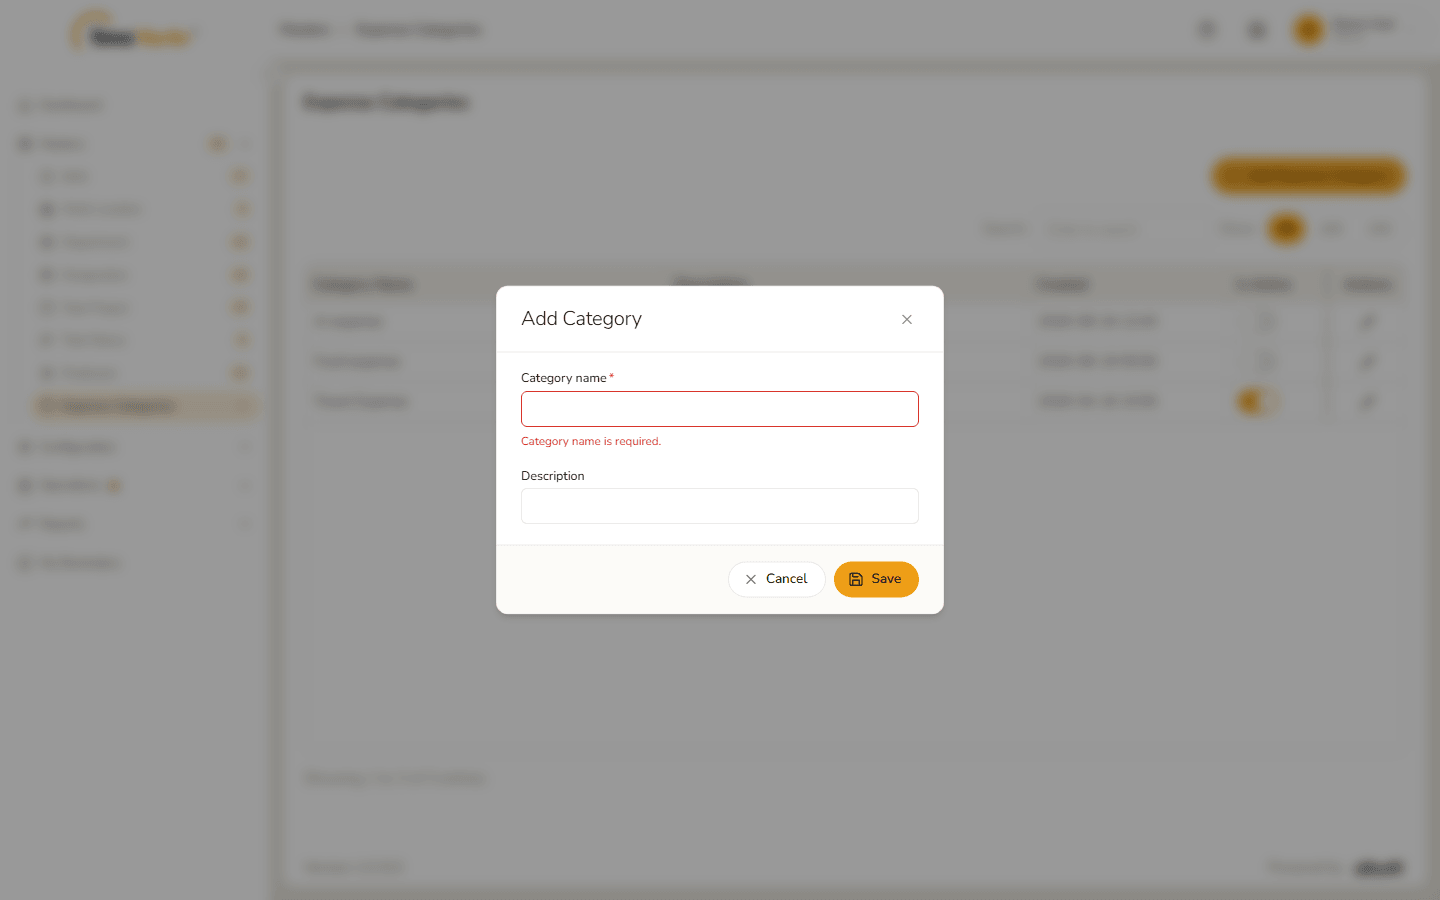
Category name is required 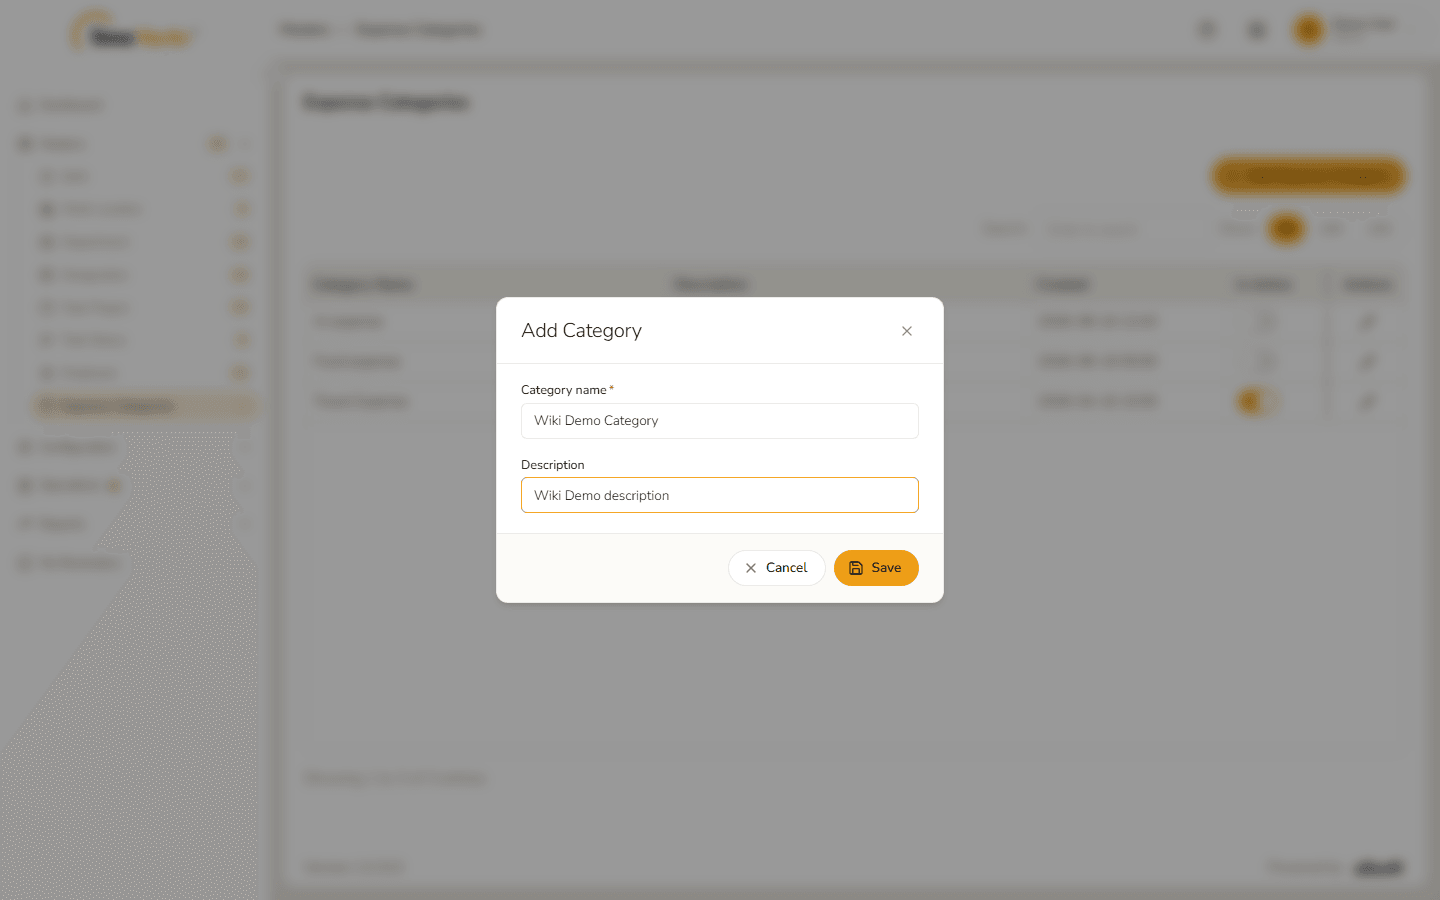
Form filled in Click Save. The message Category created says the category "was created and is active, so employees can select it on their next claim." Click Got it.
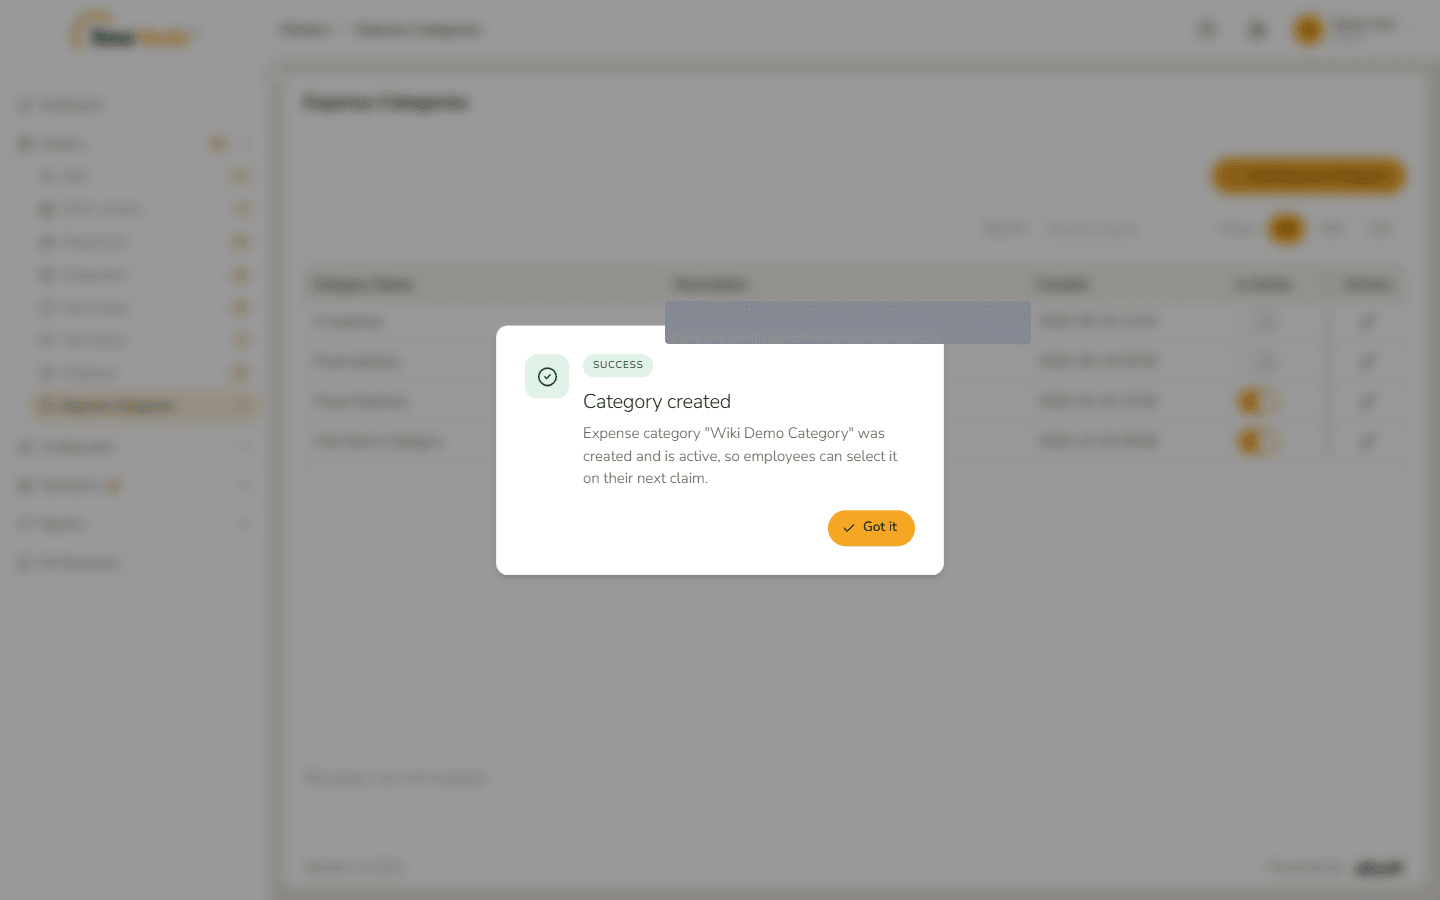
Category created The category is in the list, switched on.
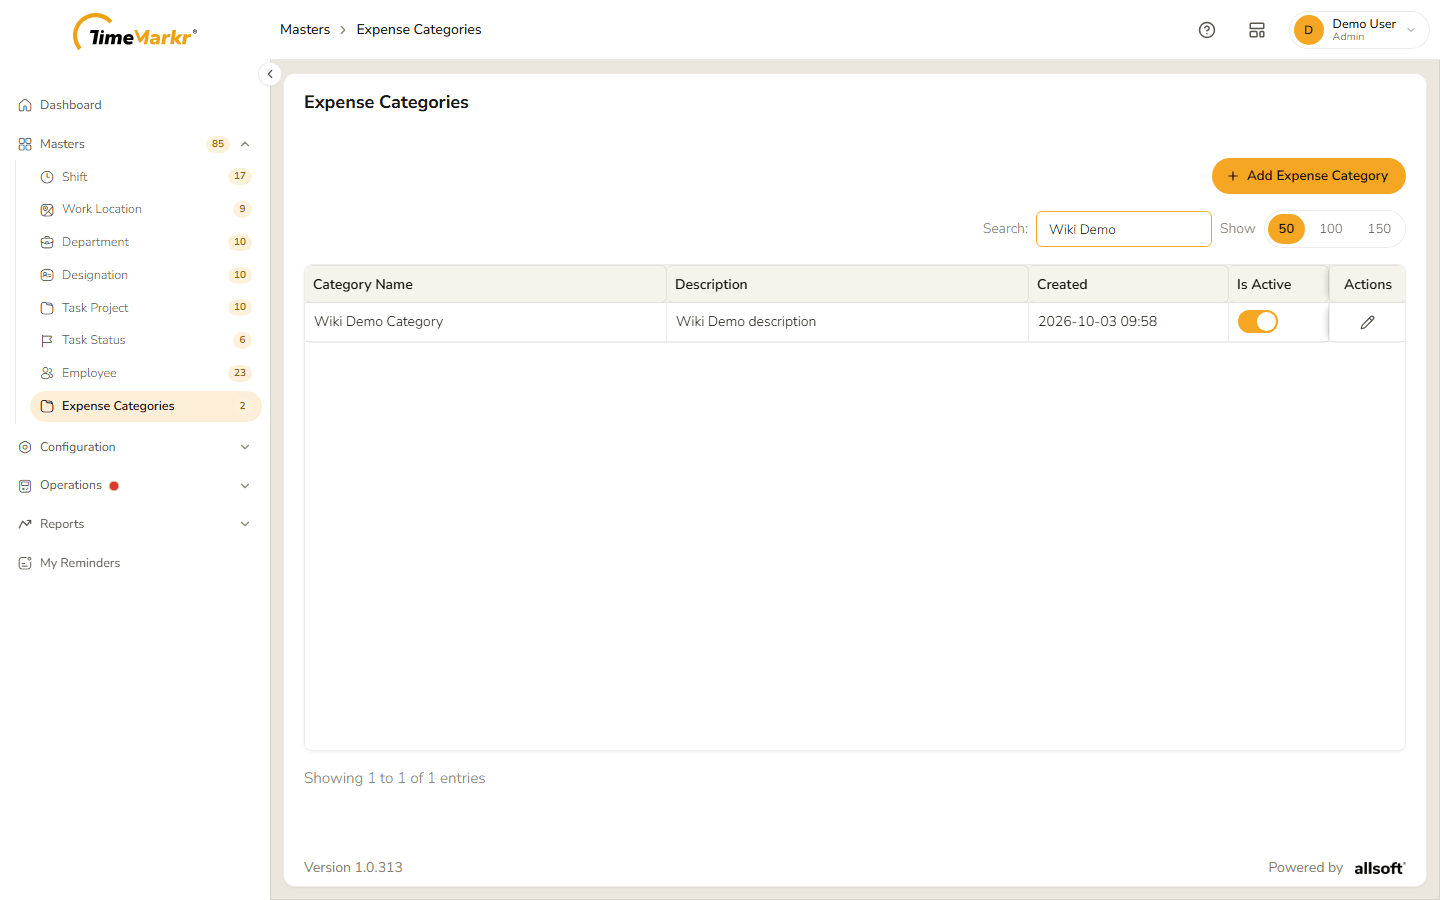
New category in the list
3. Edit a category
Click the pencil on the category's row.
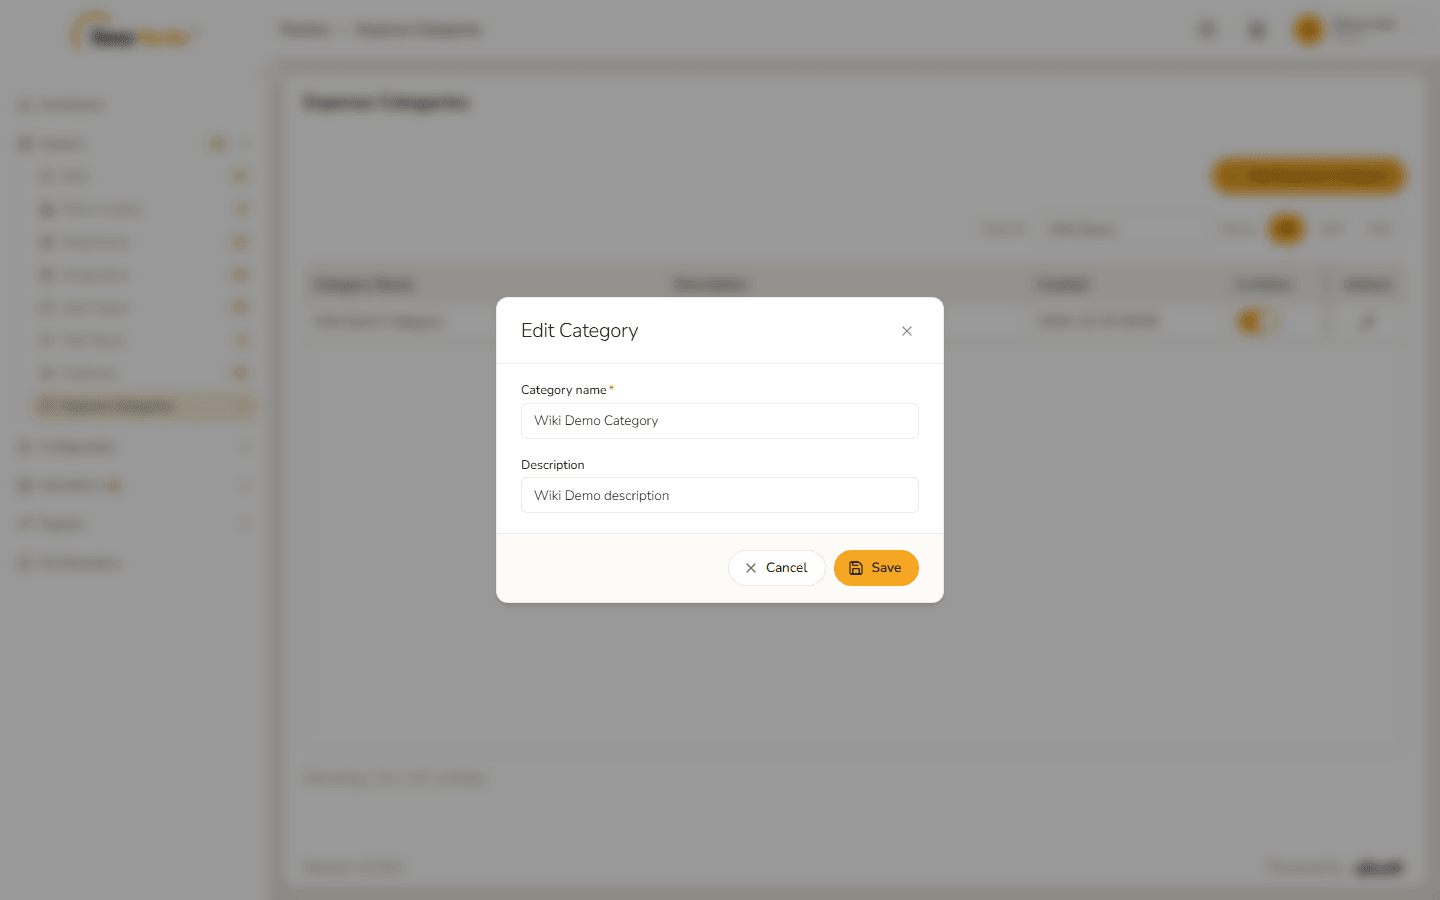
Edit Category form Change the name or description.
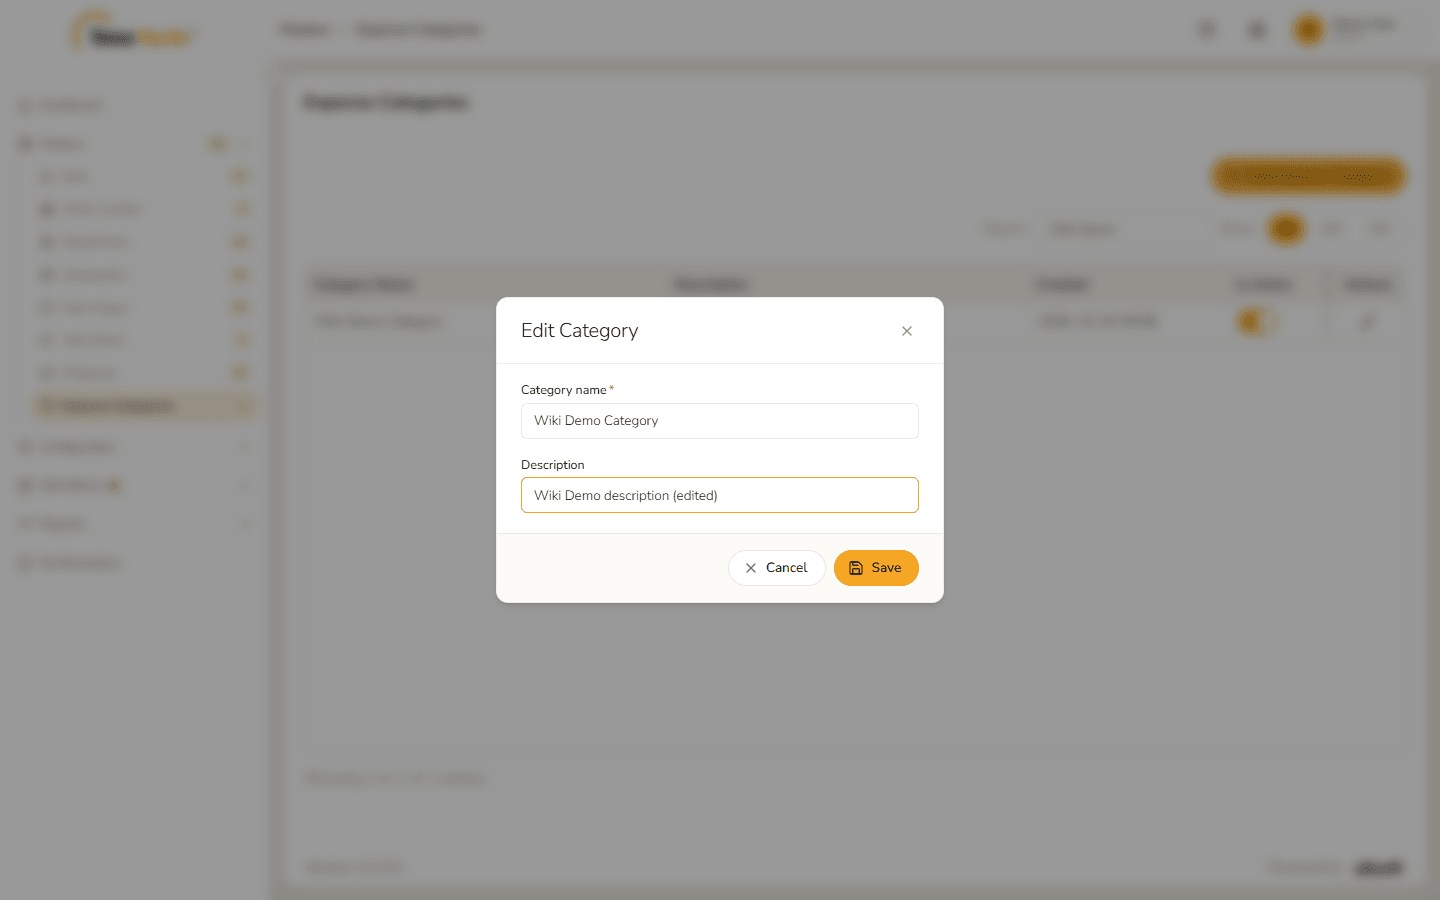
Description changed Click Save. Category updated confirms that the category was saved.
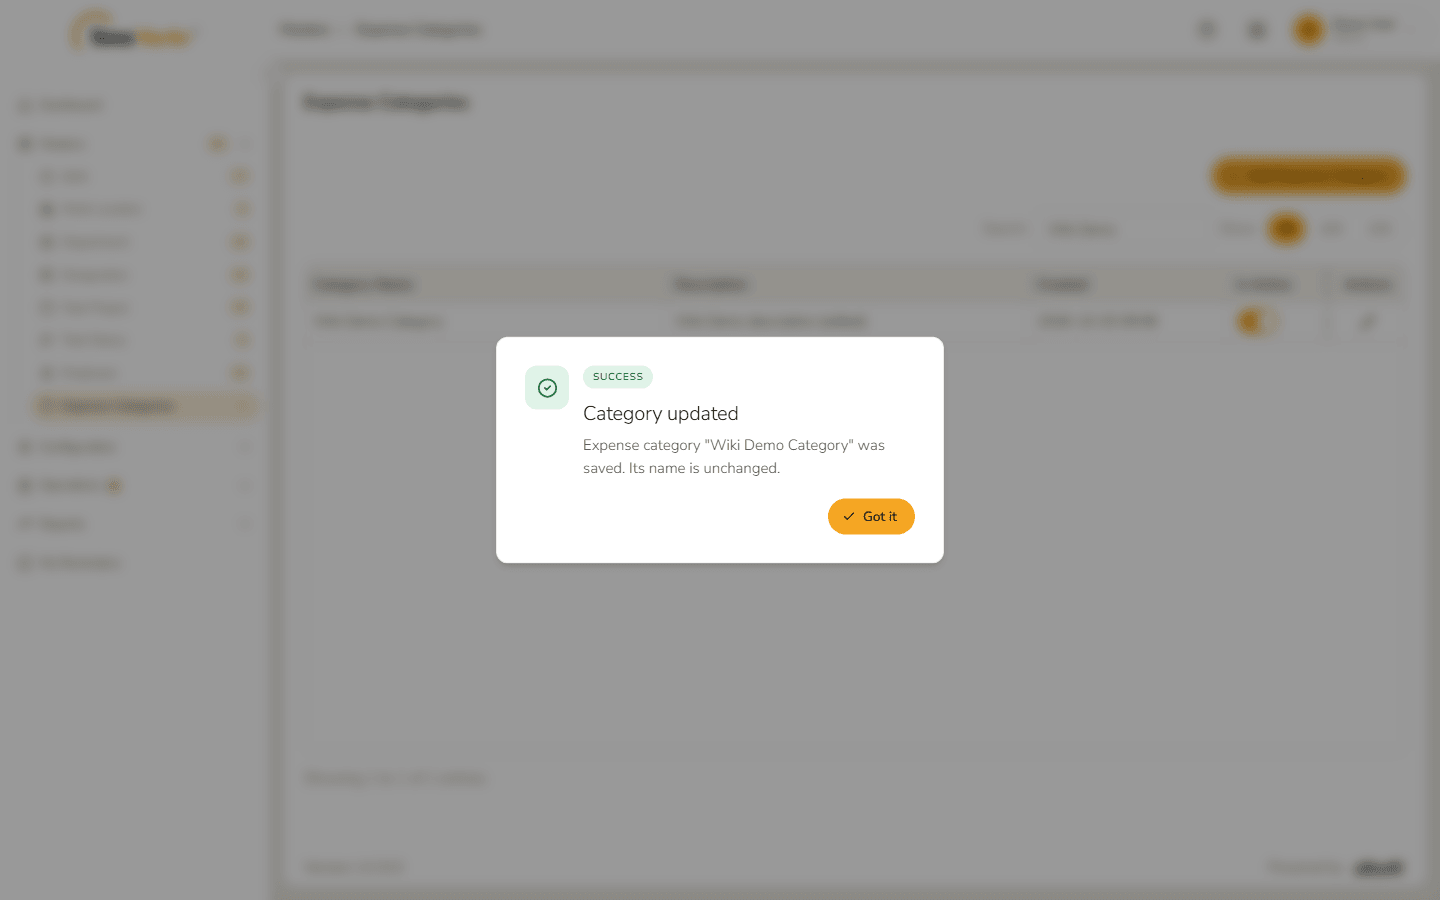
Category updated
4. Switch a category off or on
- Click the switch in the Is Active column. The change is made at once – there is no extra confirmation.
Category status updated says the category "is now switched off - employees can no longer select it, and claims already filed under it are unaffected."
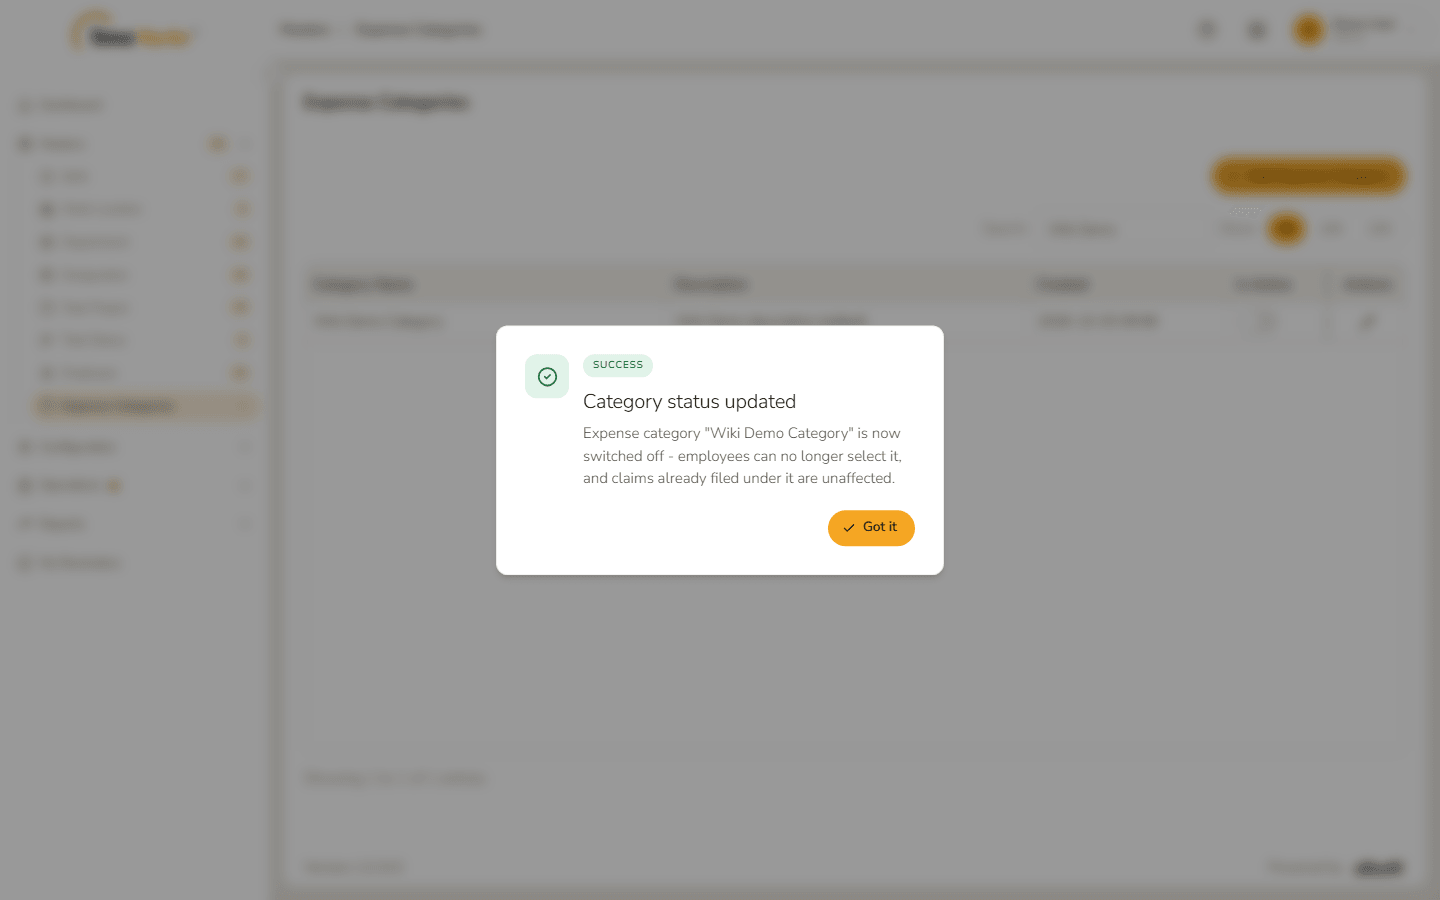
Category switched off The switch in the list is now off.
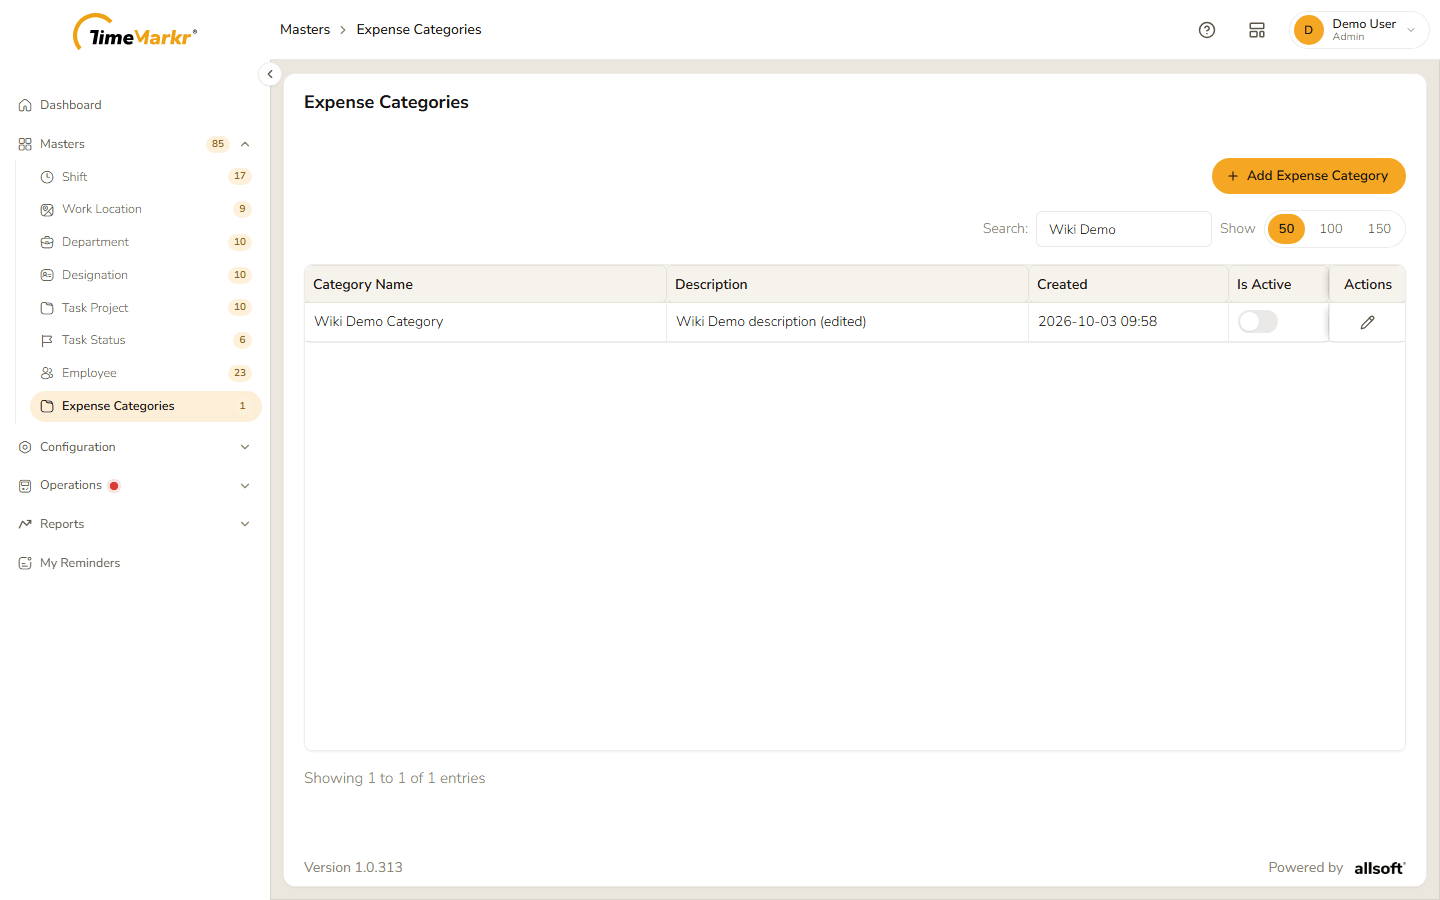
The list with the category switched off - Switch it on again and the message says the category "is now active - employees can select it on their next claim."
Related: Reimbursement Claims · Reimbursement (employee portal)