
Work Location
Where: Admin portal → Masters → Work Location
Route: /masters/work-location
A working location is a place your employees work from: an office, a site, a branch. It carries the rules that apply there – which shift is the default, whether Saturday and Sunday are working days, which reasons employees are asked for, and whether punches must be made inside a geo-fence. Set up your locations before you register employees: the registration form asks for a working location, and the employee's geo-fence settings start with the values of that location.
1. The Work Location list
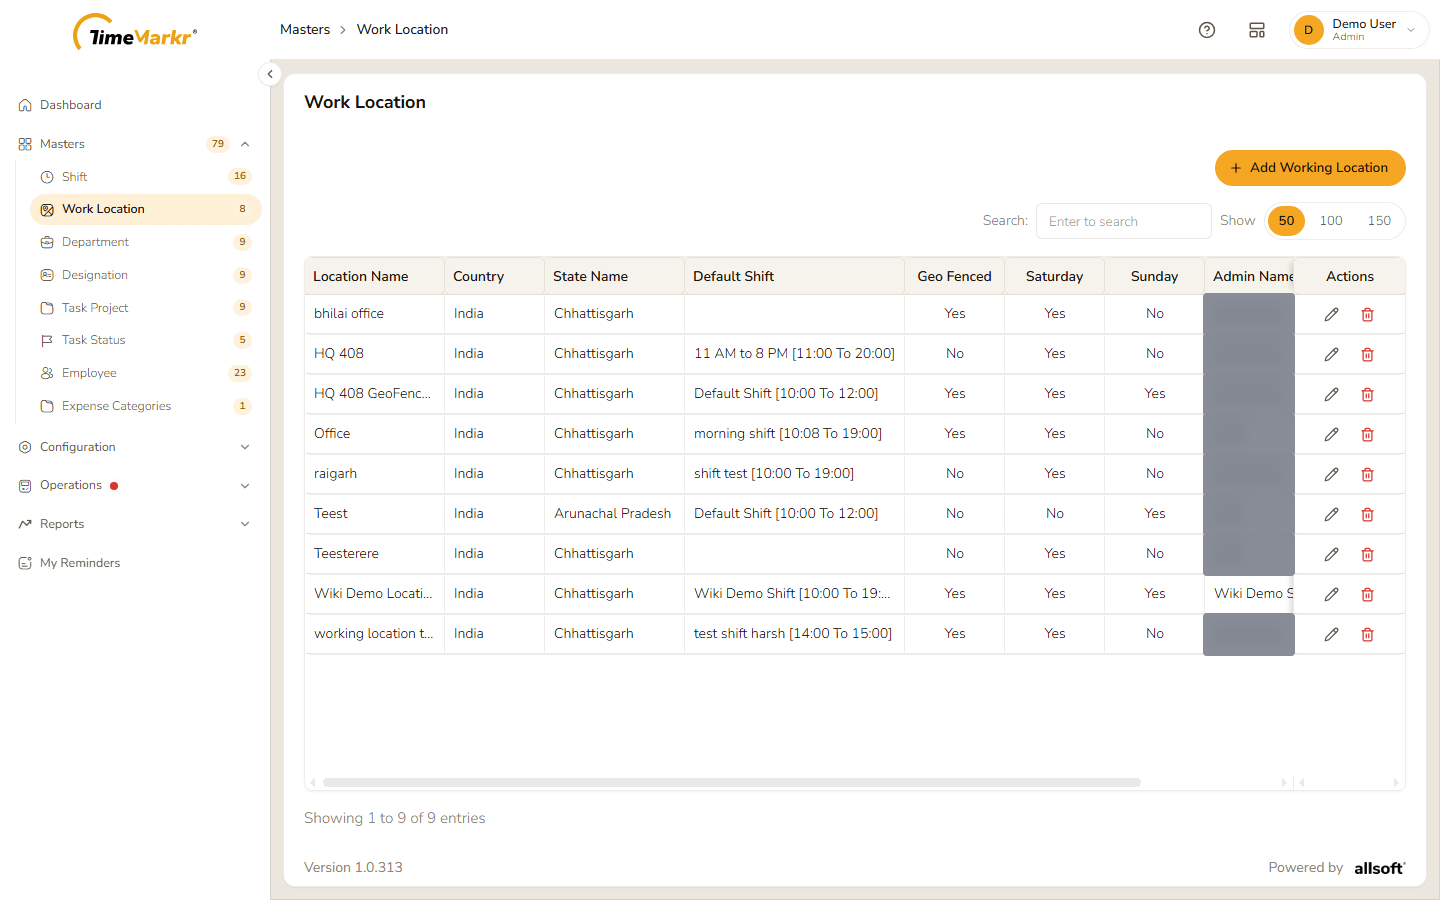
| Column | What it shows |
|---|---|
| Location Name | The name of the location. |
| Country / State Name | Where it is. |
| Default Shift | The shift chosen for this location. An employee registered at this location gets it as their shift (it shows under Work Location on the employee's profile). |
| Geo Fenced | Yes if the location uses a geo-fence. |
| Saturday / Sunday | Yes if that day is a working day here. |
| Admin Name / Admin Number | The HR contact or admin for the location (hidden in the screenshot). |
| Actions | Pencil = Edit, bin = Delete. |
Use Search to narrow the list and Show 50 / 100 / 150 to choose how many rows to see.
2. Add a working location
Click Add Working Location. A long form opens; scroll inside it to reach every field.
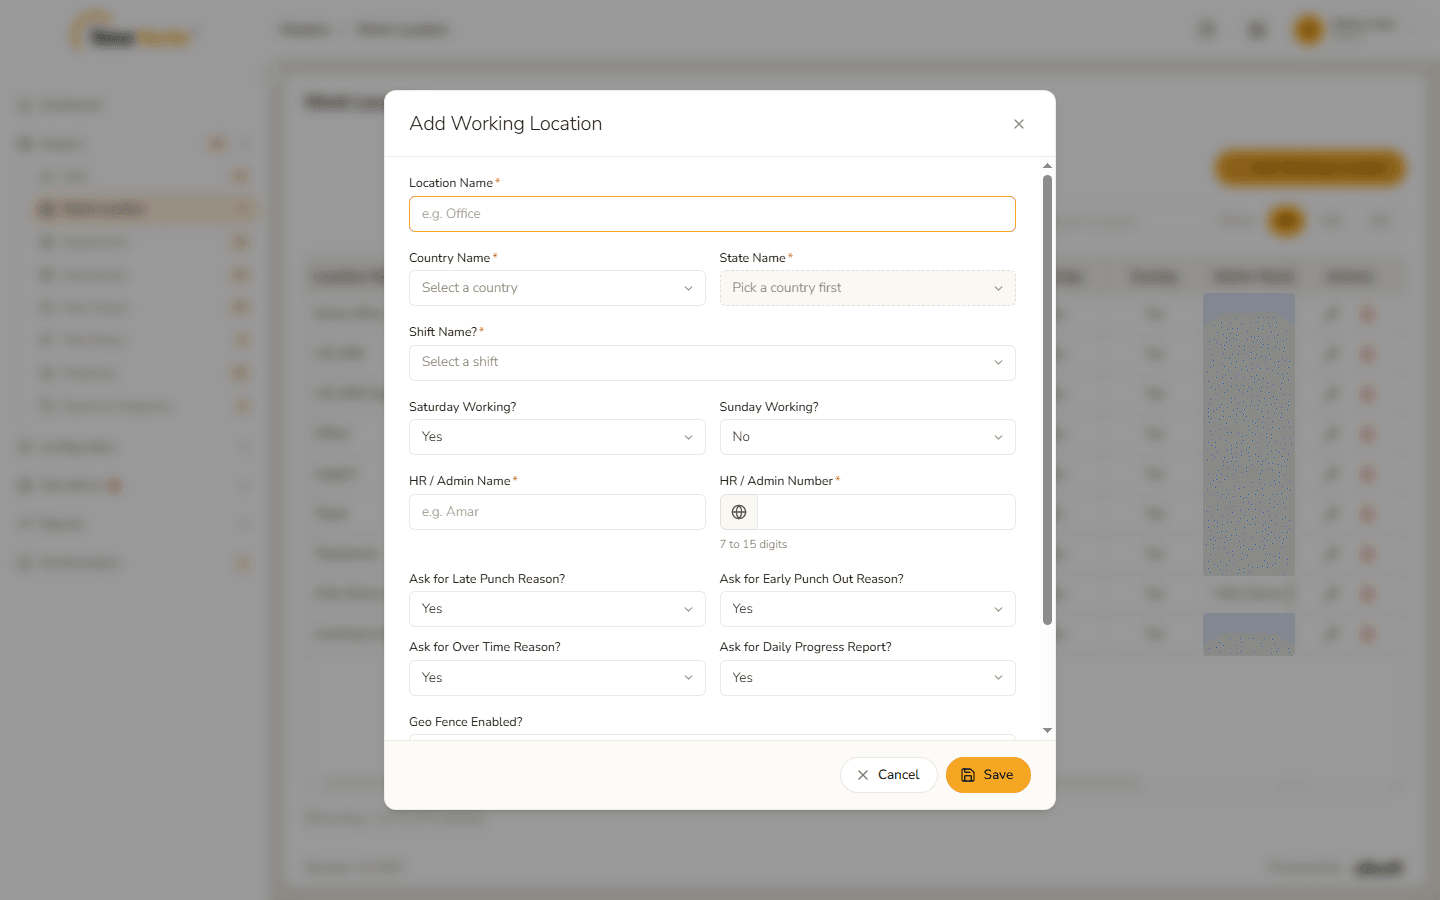
Add Working Location form Fill in the fields.
Field Notes Location Name* Required. Country Name* Required. Choose this first – State Name stays disabled ("Pick a country first") until you do. State Name* Required. The list depends on the country. Shift Name?* Required. Pick one of your shifts; each is listed with its hours, for example [10:00 To 19:00].Saturday Working? / Sunday Working? Yes or No. New locations start with Saturday Yes and Sunday No. HR / Admin Name* Required. HR / Admin Number* Required. With India selected it must be 10 digits starting with 6, 7, 8 or 9; before a country code is chosen the hint reads "7 to 15 digits". Ask for Late Punch Reason? · Ask for Early Punch Out Reason? · Ask for Over Time Reason? · Ask for Daily Progress Report? Yes or No; all start as Yes. The in-app help (the ? at the top of the page) explains that these decide whether employees at this location must give a reason when they punch in late, punch out early or work overtime, or file a daily progress report. Geo Fence Enabled? Starts as Yes. The in-app help explains that when it is on, employees must punch in within the Allowed Geo Fence Radius (in metres) of the latitude and longitude you enter. **Location Latitude* / Location Longitude*** Required. The centre of the geo-fence. Allowed Geo Fence Radius* Required. In metres; the field starts at 50.Clicking Save with required fields empty marks each one in red with "… is required."
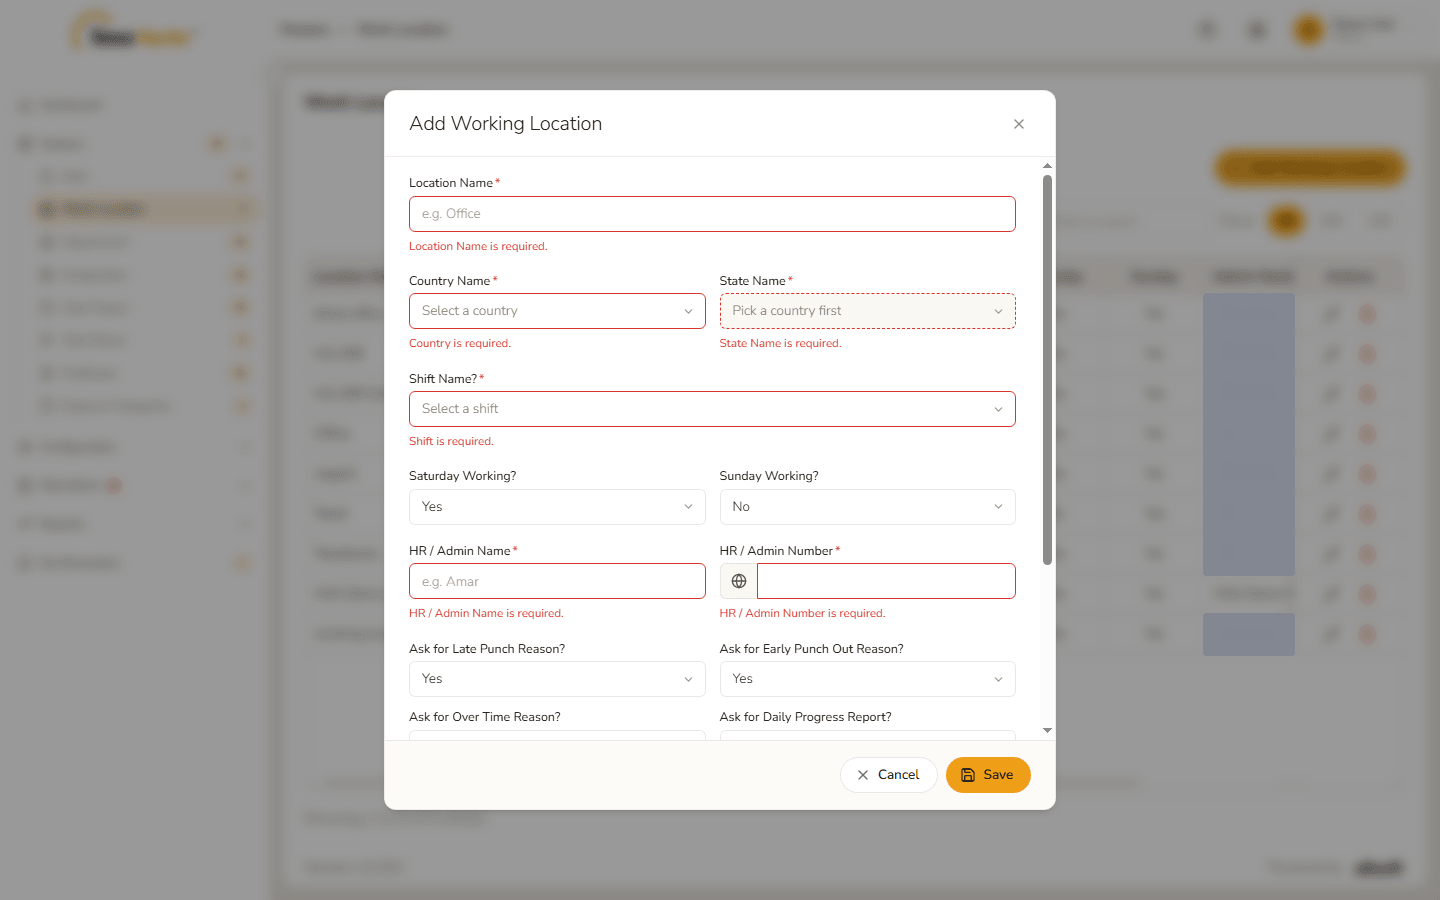
Required-field messages 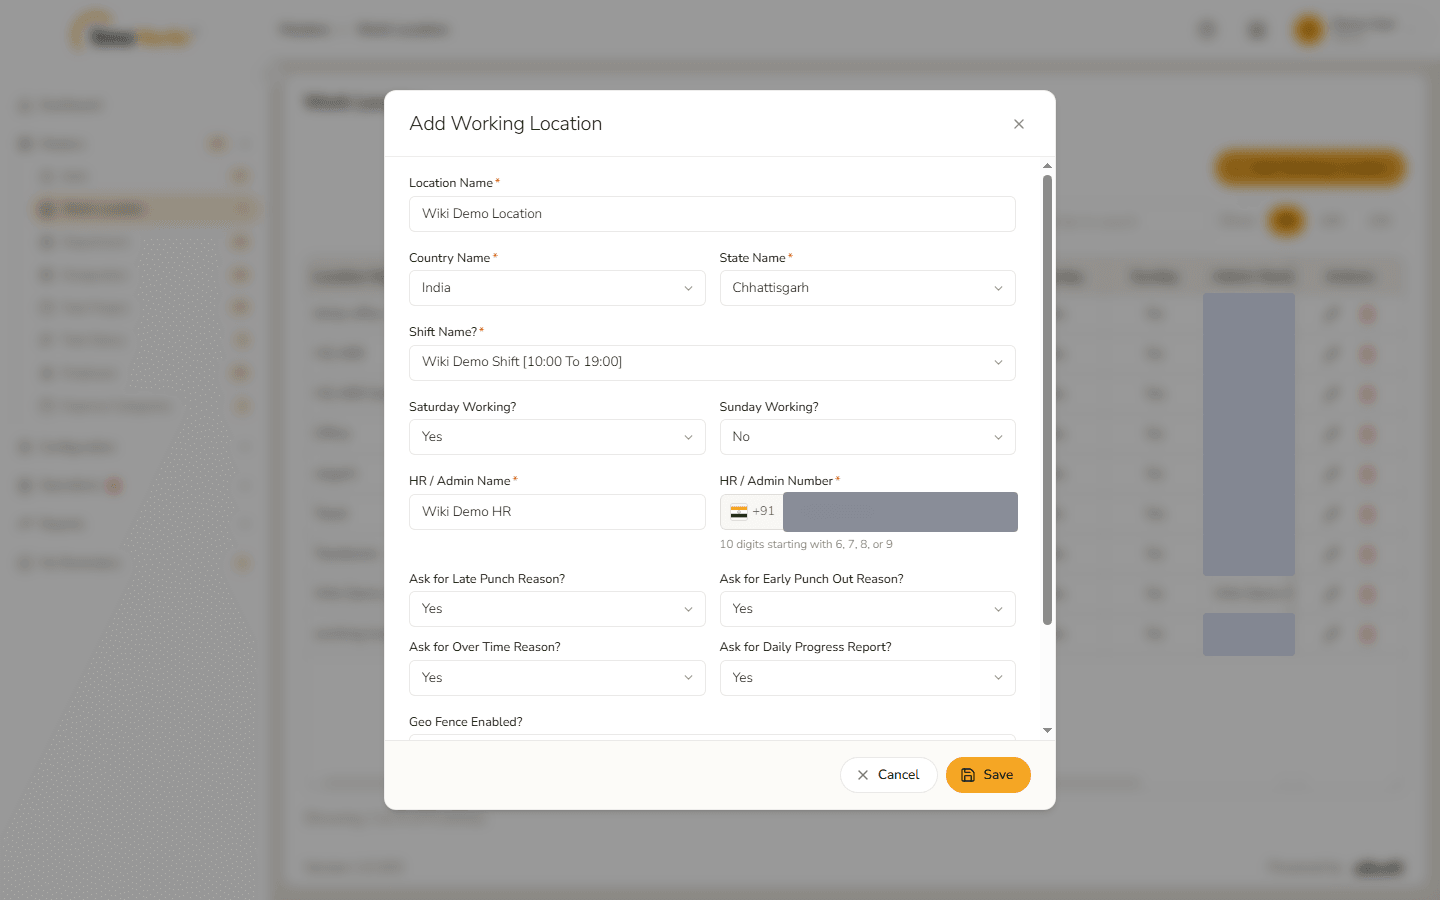
Top of the form, filled in 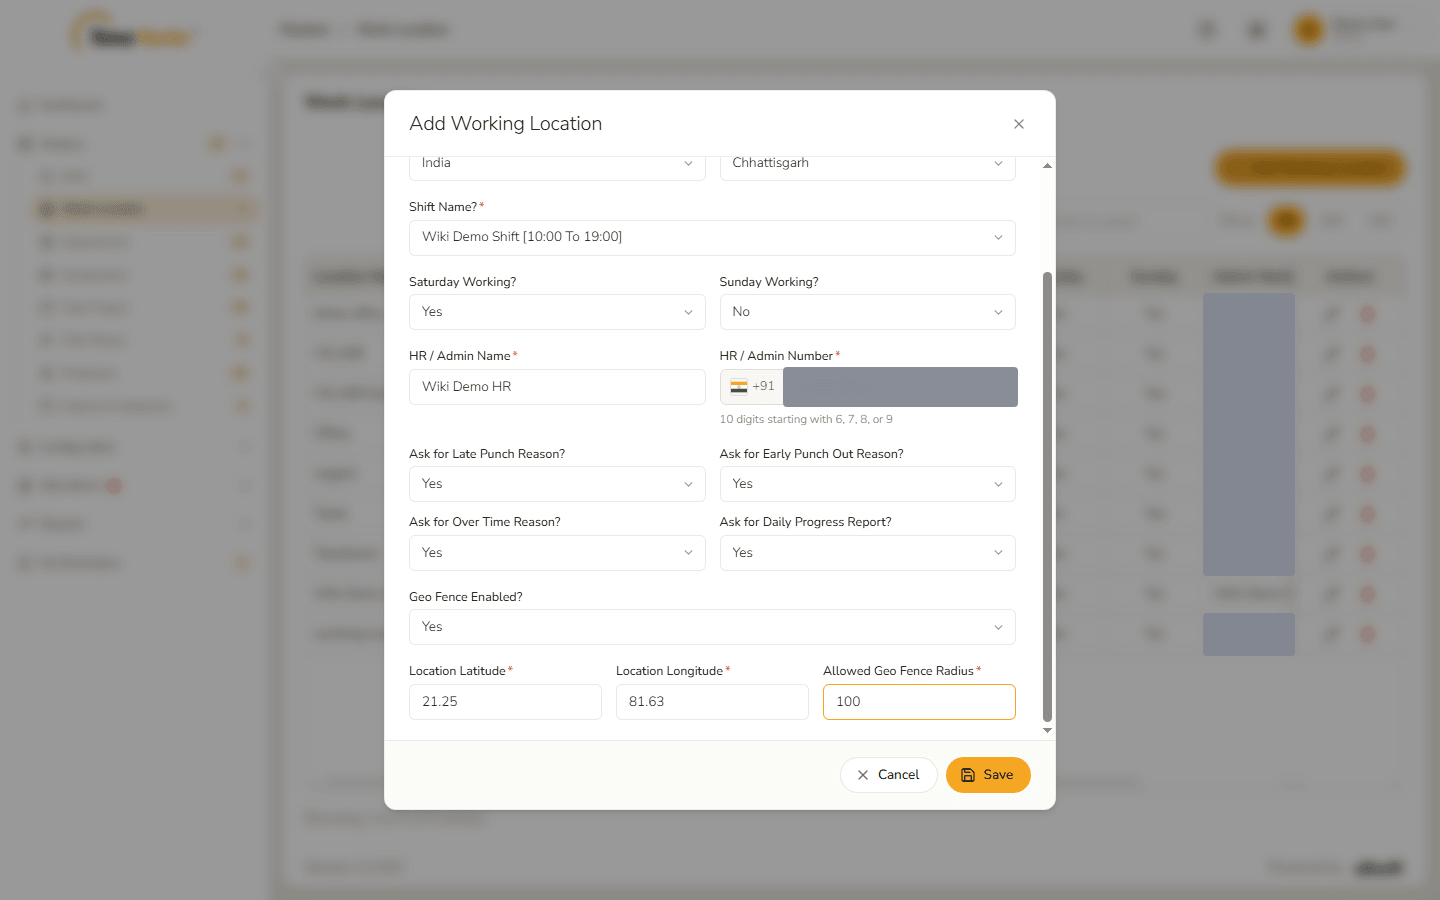
Bottom of the form, filled in The HR / admin phone number is blurred in these screenshots.
Click Save. Location saved – Success. Created. confirms it. Click Got it.
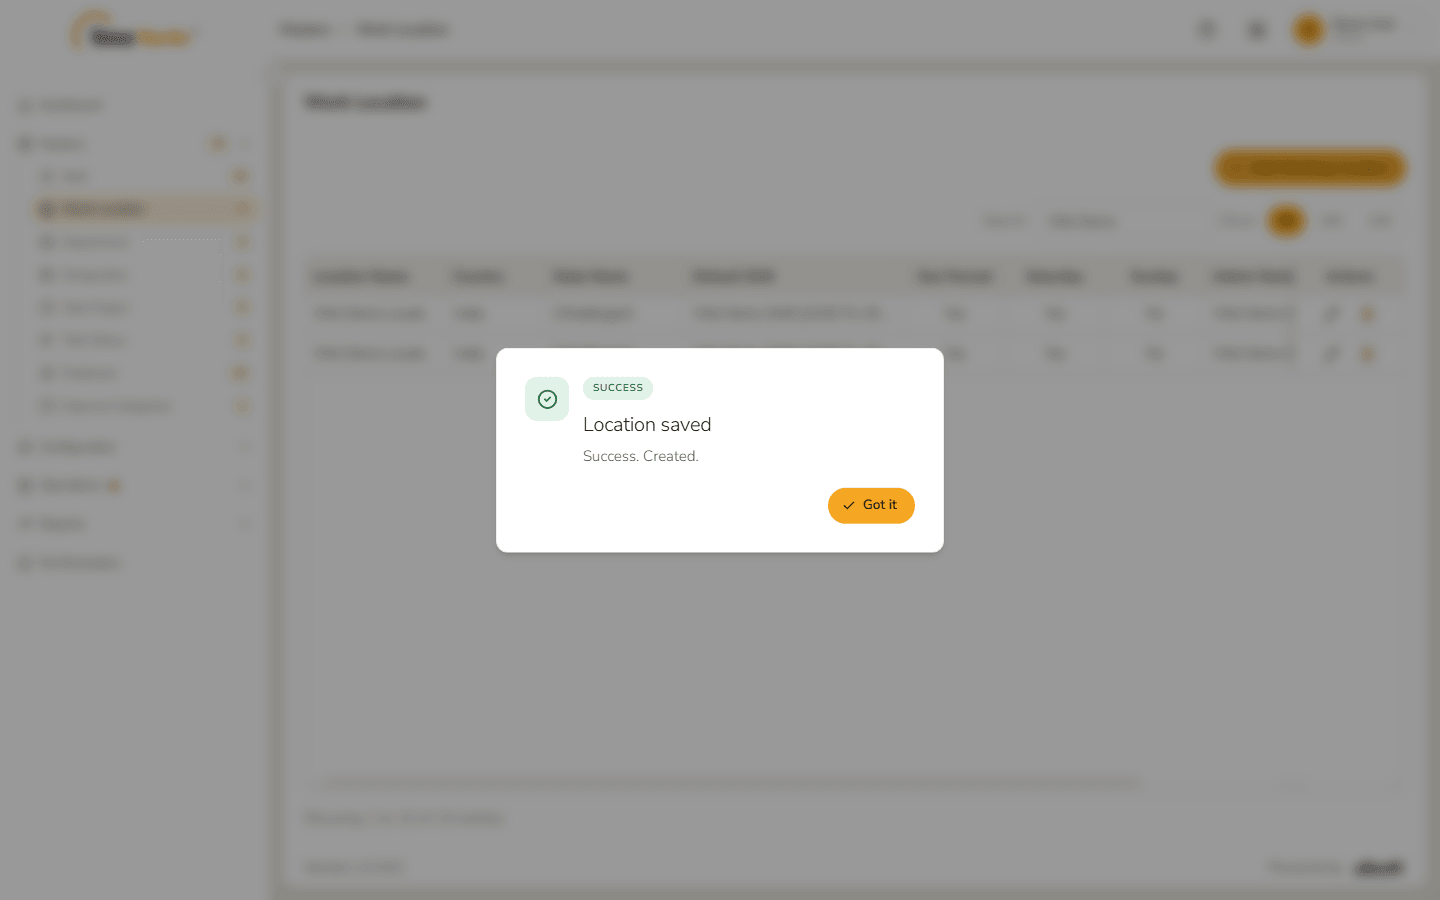
Location saved The new location is in the list.
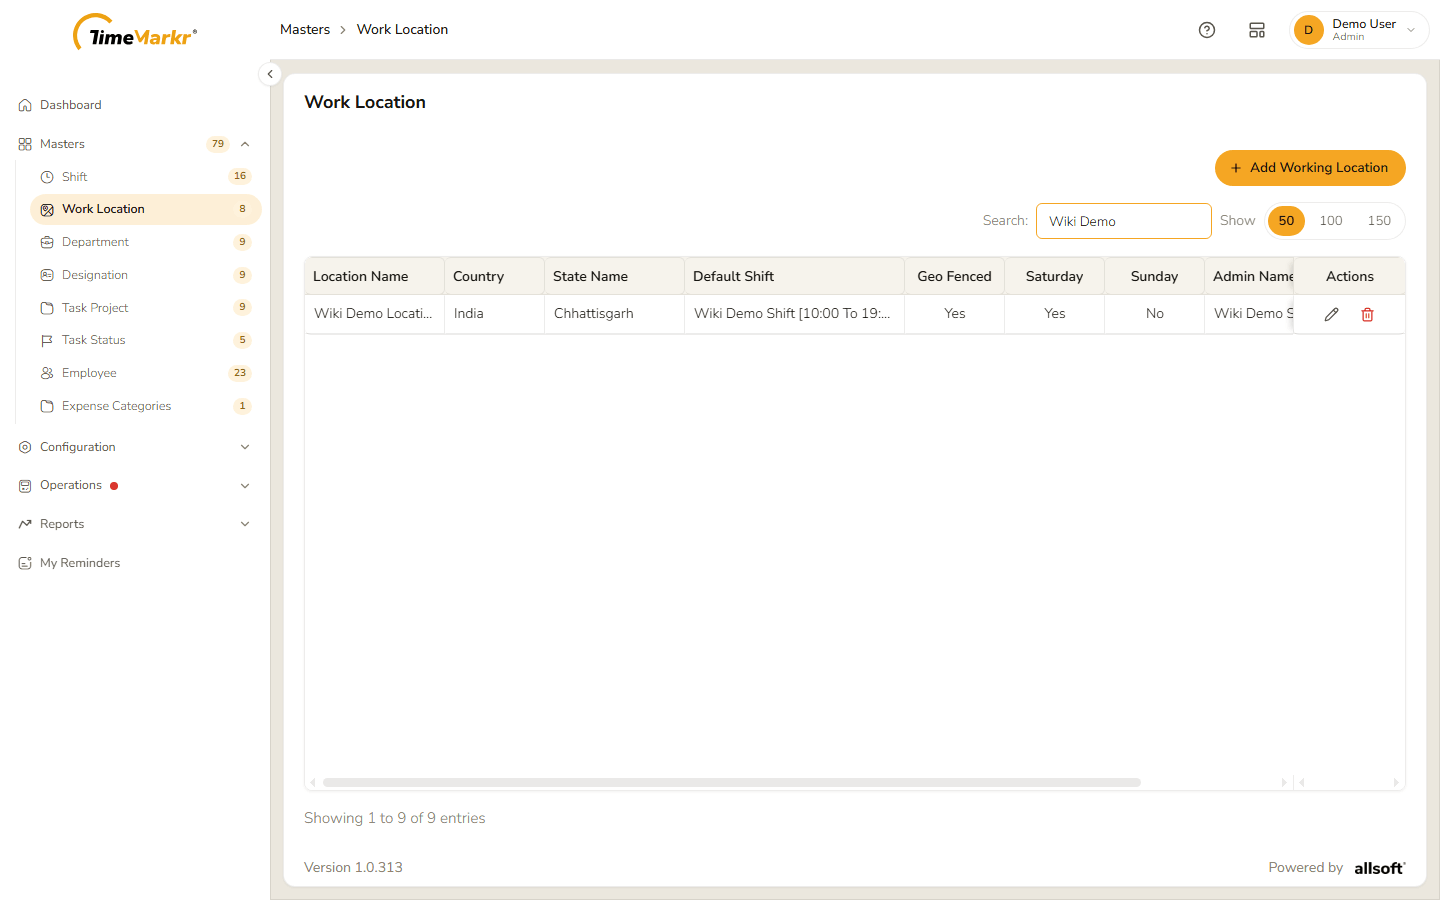
New location in the list
3. Edit a working location
Click the pencil on the location's row. The form opens with the saved values.
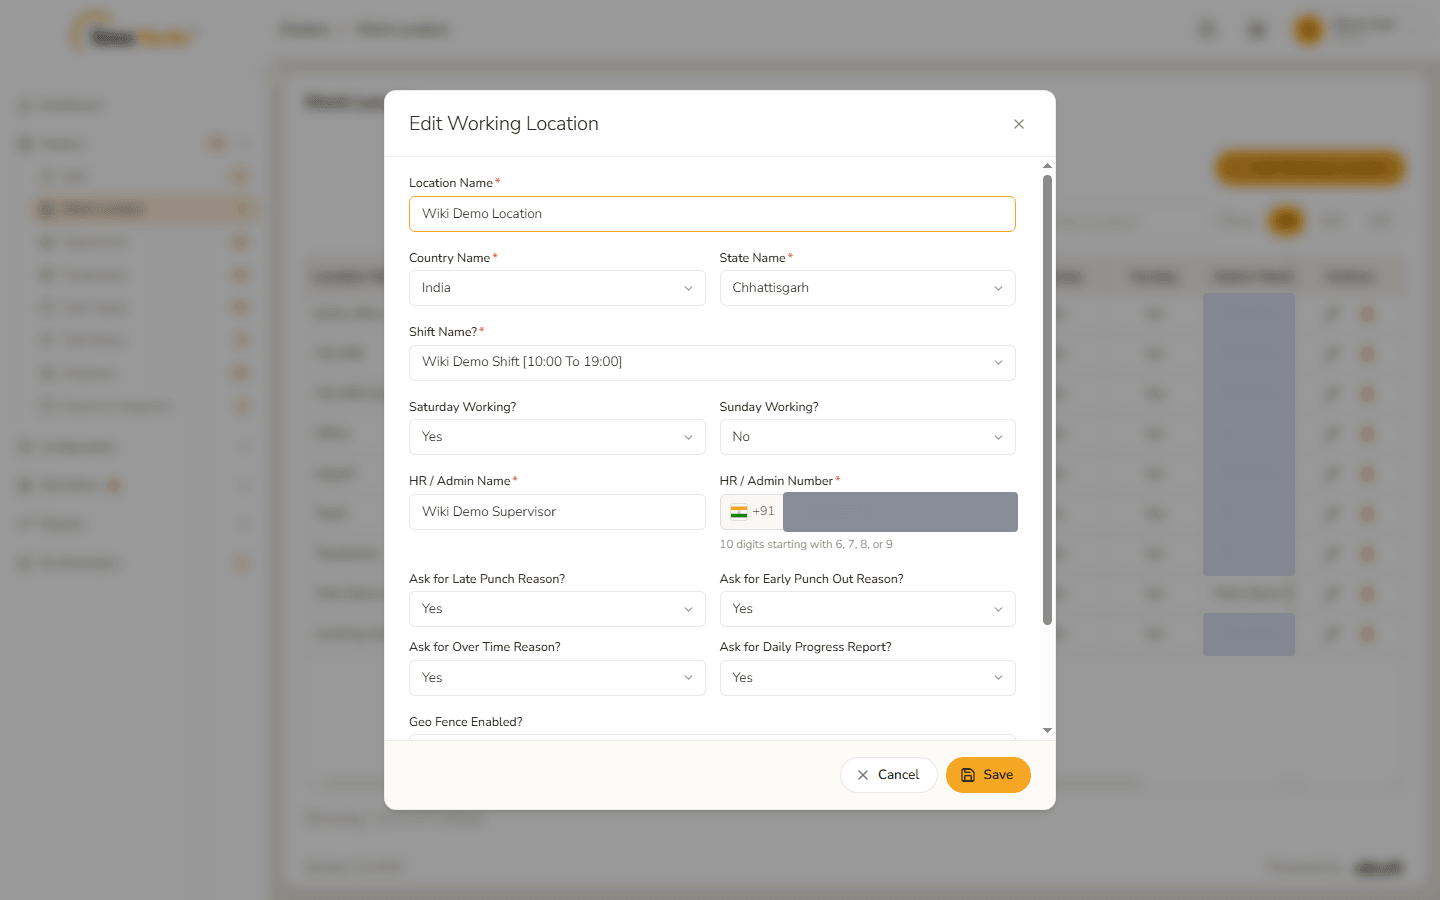
Edit Working Location form Change what you need – here Sunday Working? is switched to Yes.
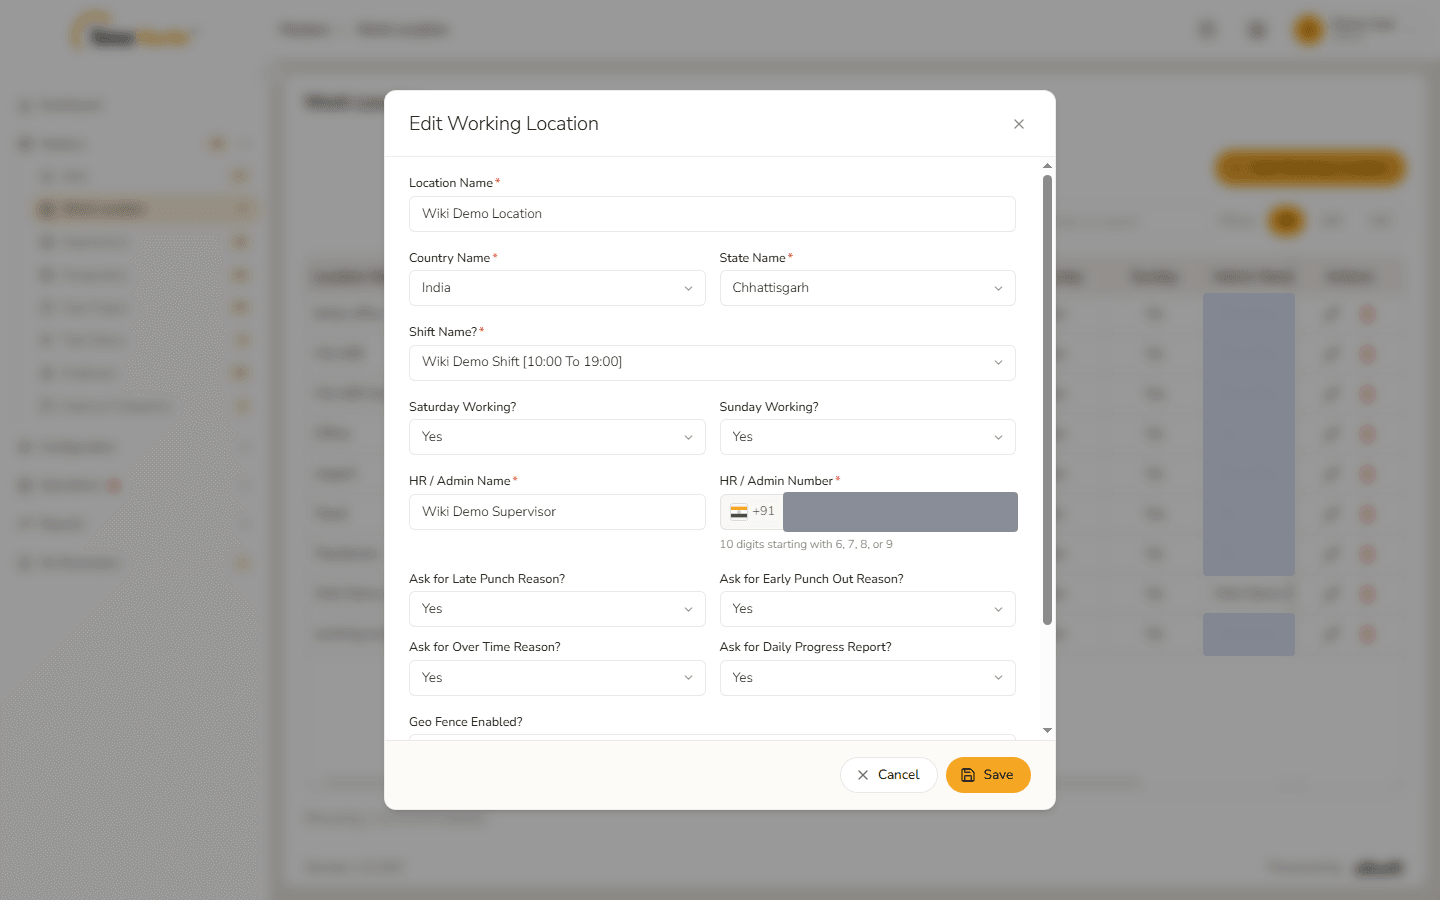
Field changed Click Save. Location saved – Success. Modified. appears.
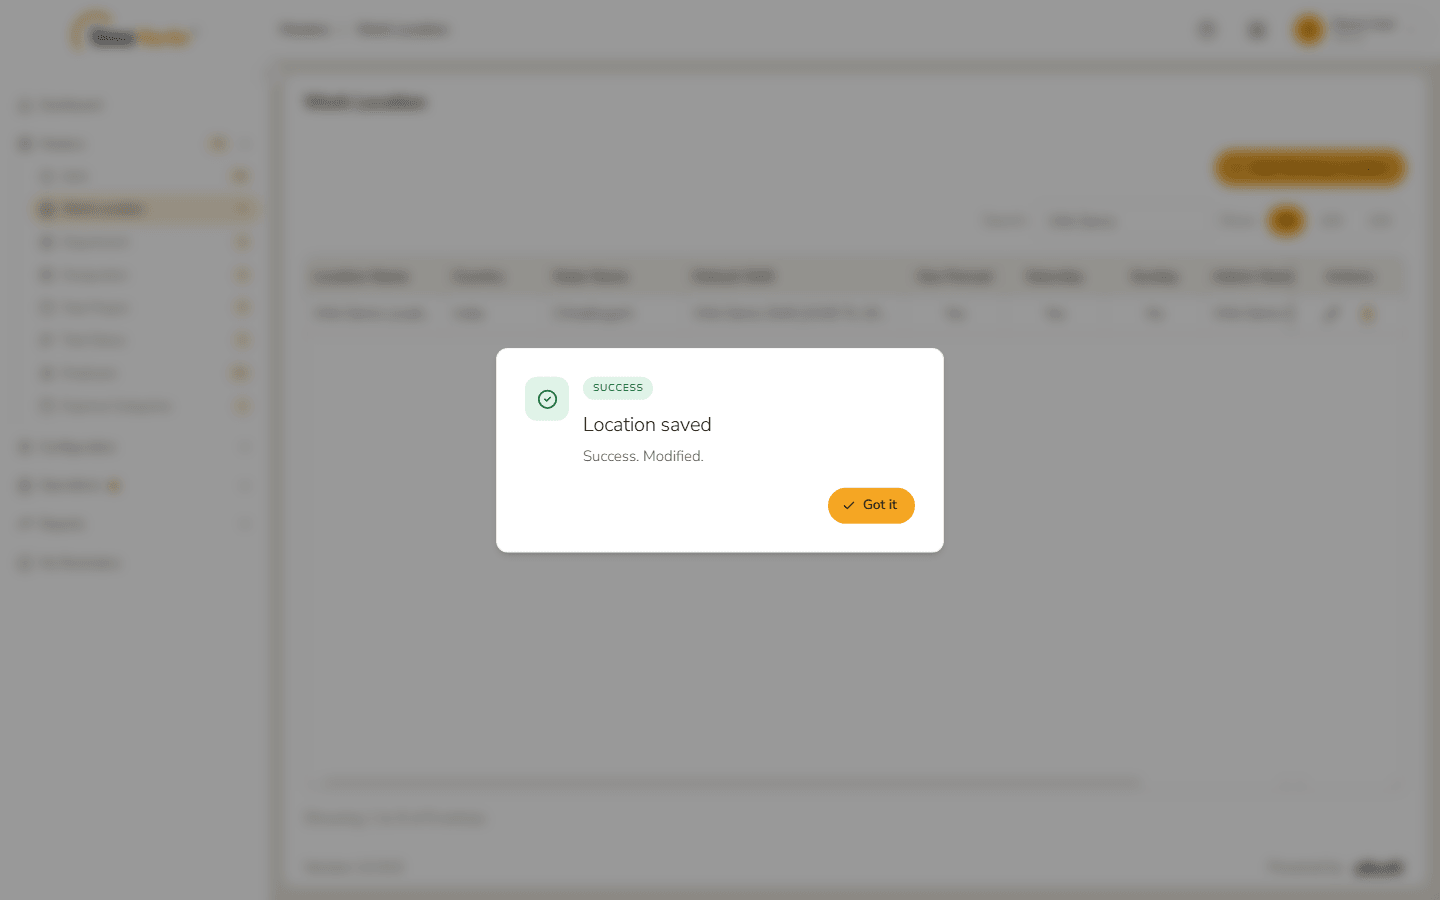
Location modified
4. Delete a working location
- Click the bin on the location's row.
The confirmation names the location and warns "This cannot be undone." Click Delete.
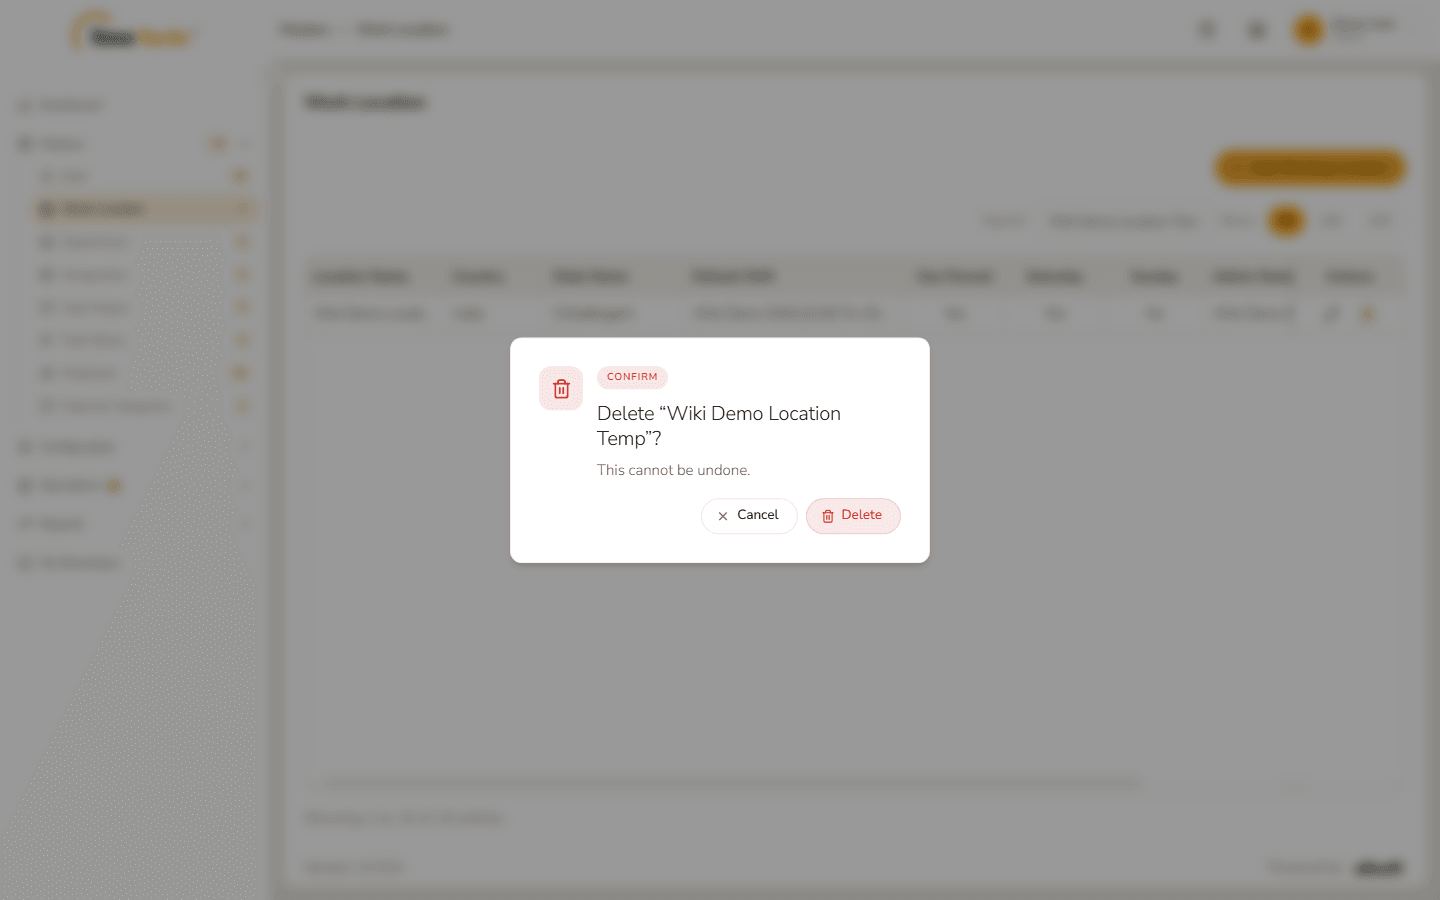
Delete confirmation Location deleted – Success. Deleted. confirms it. Click Got it.
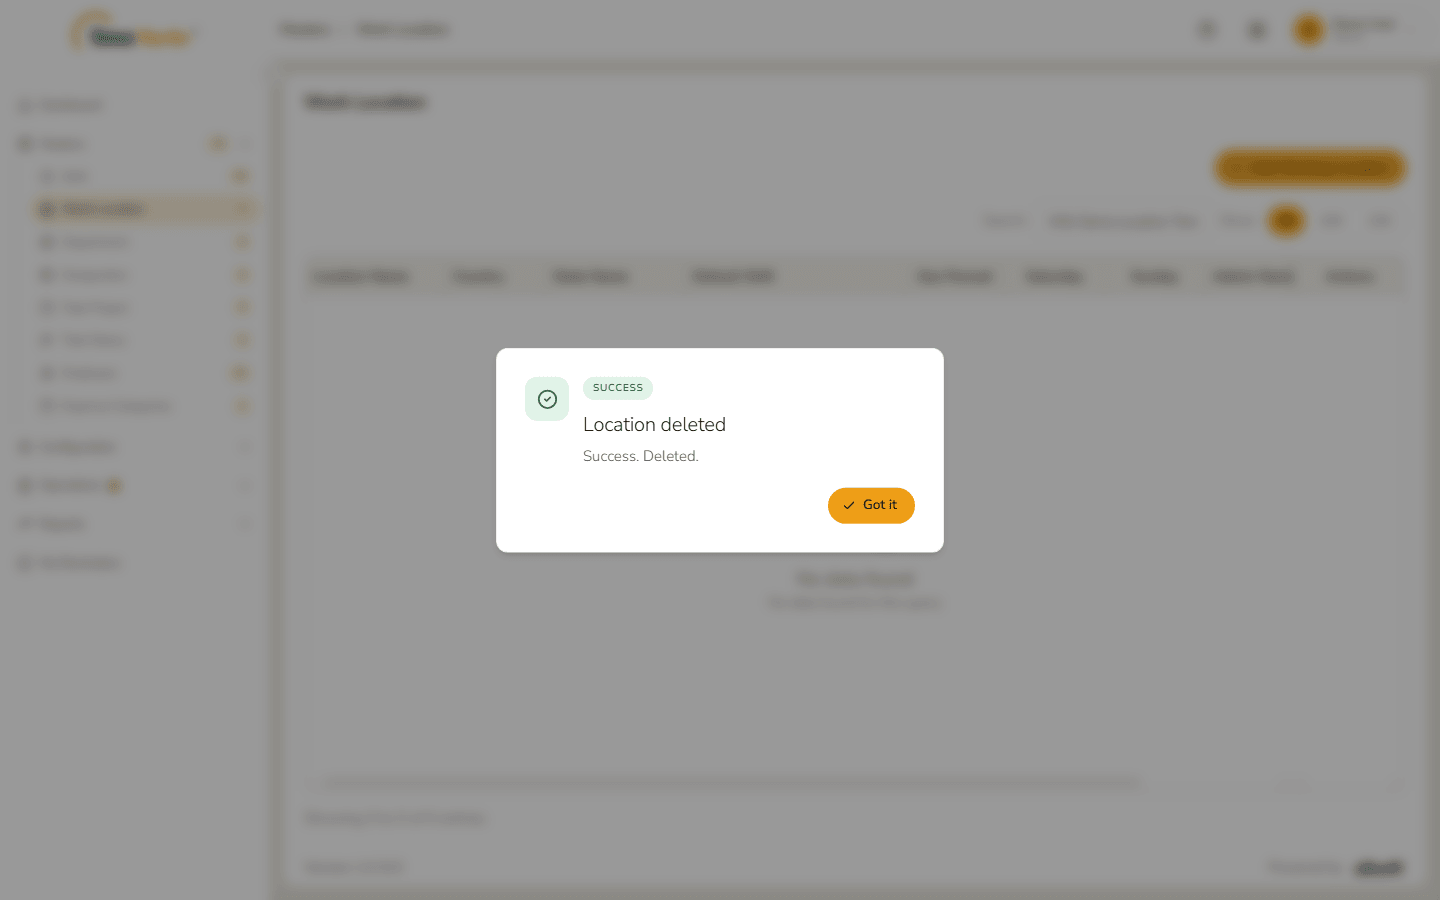
Location deleted 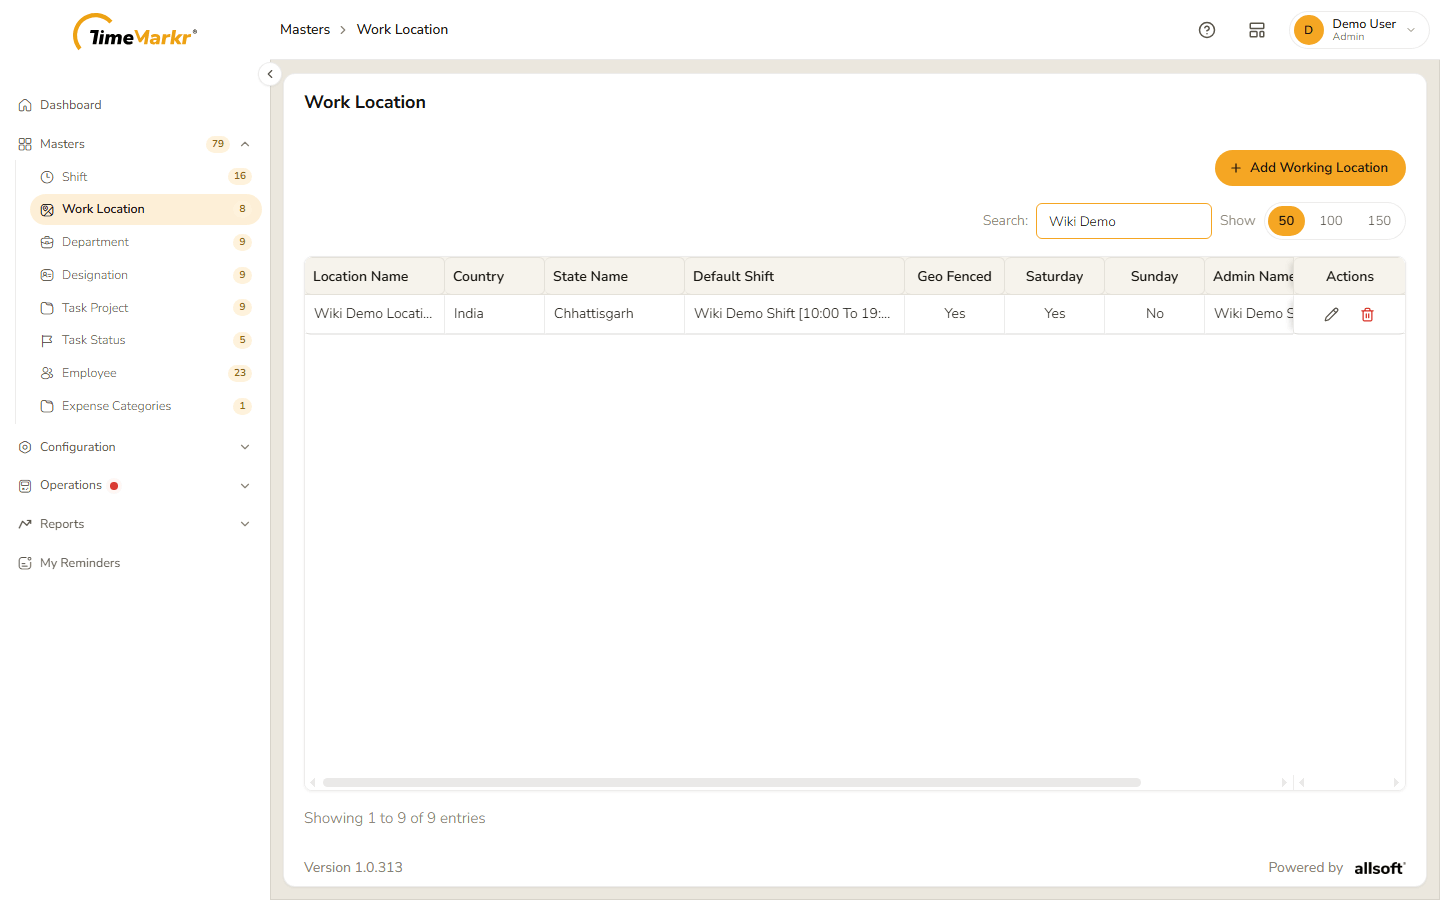
List after the delete
Related: Shift · Employee · Bulk Update Shifts